Forget everything you know about the humble sandwich loaf. We are moving beyond the realm of simple flour and water into the high-stakes world of starch hybridization. When you introduce the tuber to the dough, you aren't just making lunch; you are engineering a structural masterpiece. This is the Potato Bread Infrastructure. The magic lies in the potato's ability to hold moisture far beyond the capacity of traditional wheat gluten. By integrating gelatinized potato starch into the matrix, we create a crumb that is impossibly soft yet structurally resilient. Imagine a loaf that yields to the slightest pressure but springs back with the defiance of a performance suspension system. The aroma is a heady mix of toasted yeast and earthy minerals. The crust is a golden, paper-thin lacquer that shatters upon impact. We are looking for a specific viscosity in the dough, a silkiness that suggests luxury while maintaining the tensile strength required for a massive rise. This audit will dismantle the process, ensuring your kitchen becomes a laboratory of superior texture.
THE DATA MATRIX
| Metric | Specification |
|---|---|
| Prep Time | 45 Minutes |
| Execution Time | 3.5 Hours |
| Yield | 2 Large Loaves |
| Complexity | 7/10 |
| Estimated Cost per Serving | $0.45 |
THE GATHERS
Ingredient Protocol:
- Russet Potatoes (Peeled/Cubed): 300g / 1.5 cups
- Potato Cooking Water (Reserved): 240ml / 1 cup
- Unsalted Butter (Room Temp): 115g / 0.5 cup
- Granulated Sugar: 50g / 0.25 cup
- Fine Sea Salt: 12g / 2 teaspoons
- Large Eggs (Room Temp): 2 units
- Active Dry Yeast: 14g / 4.5 teaspoons
- Bread Flour (High Protein): 850g / 6.5 cups
Section A: Ingredient Quality Audit:
If your potatoes are waxy rather than starchy, your dough will lack the necessary fluff. Waxy potatoes like Red Bliss contain too much moisture and not enough amylopectin; stick to Russets or Yukon Golds for the best structural integrity. If your yeast fails to bloom, the water temperature is likely the culprit. Anything over 115 degrees Fahrenheit will terminate the culture. Use a digital thermometer to ensure the liquid is a hospitable 105 degrees. If the flour has a low protein content (under 12 percent), the bread will collapse under its own weight. Always audit your flour bag for the "Bread Flour" designation to ensure the gluten network can support the heavy potato solids.
THE MASTERCLASS
1. The Starch Extraction
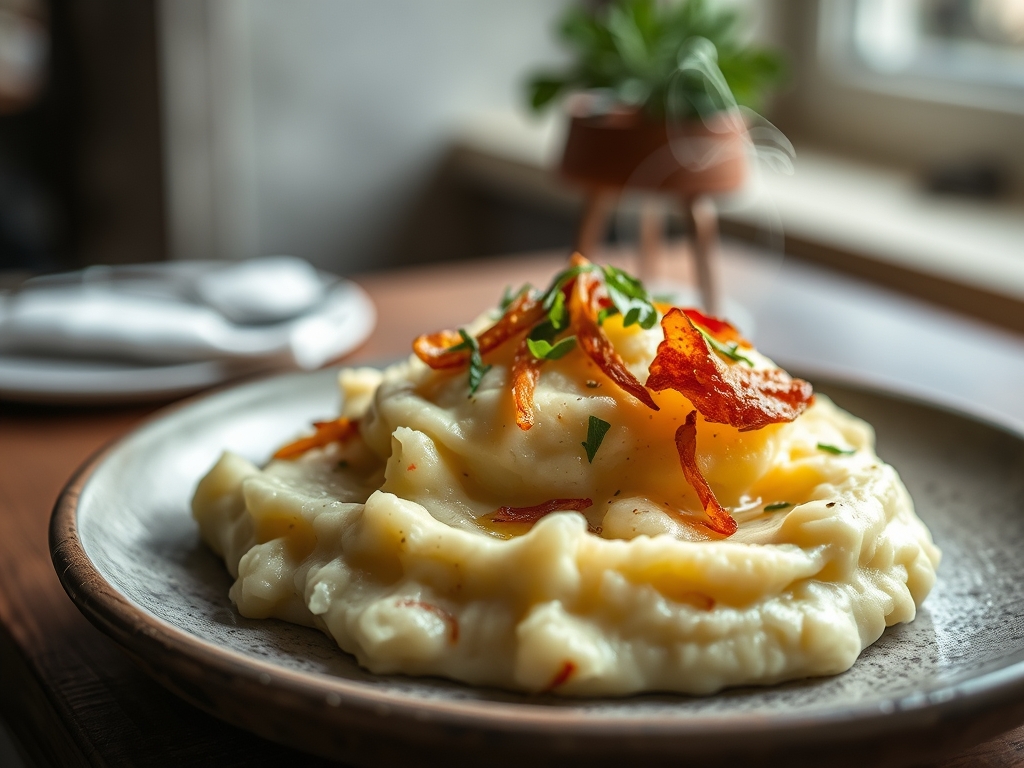
Boil the cubed potatoes in unsalted water until they are completely tender. Drain them but reserve the starchy liquid; this liquid is gold for your Potato Bread Infrastructure. Mash the potatoes until they are a smooth, lump-free puree.
Pro Tip: Use a ricer or a fine-mesh sieve rather than a masher. This ensures a uniform particle size, which prevents "islands" of unmixed potato from disrupting the gluten strands. Professional chefs use a saucier for boiling to ensure even heat distribution during the starch gelatinization phase.
2. The Yeast Activation
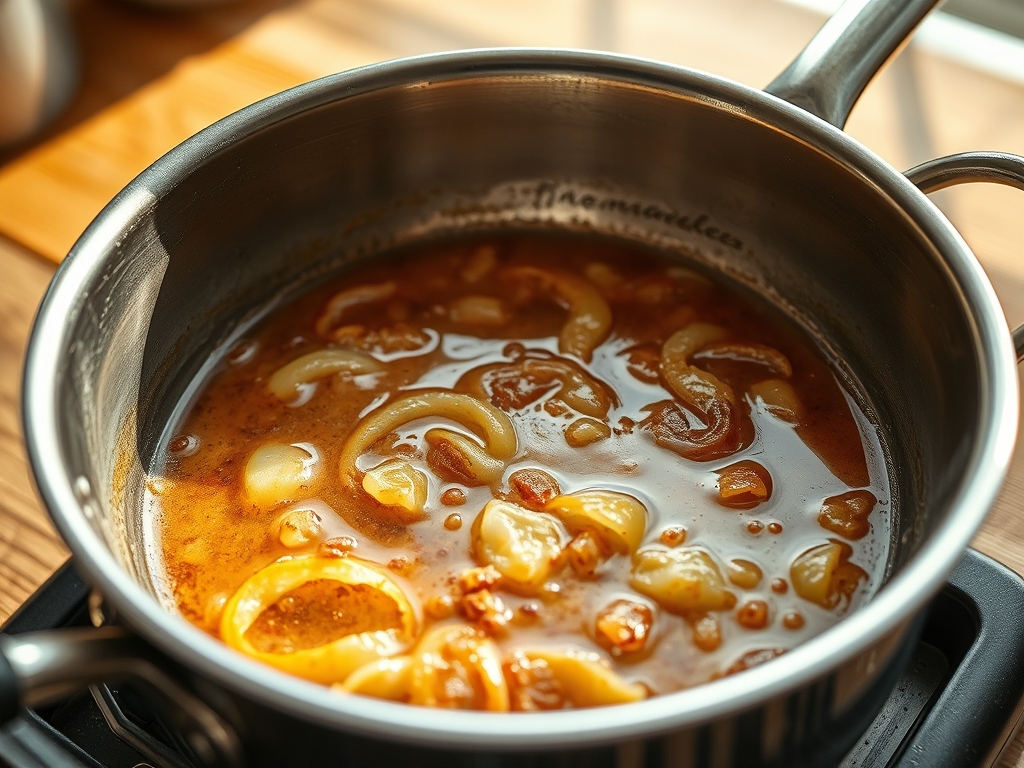
Combine the reserved potato water (cooled to 105 degrees) with the sugar and yeast. Let it sit for ten minutes until a thick, frothy foam develops on the surface.
Pro Tip: This "bloom" is a biological audit. If you do not see a viscous foam, your yeast is inactive. Use a digital scale to measure your yeast precisely; volume measurements for leavening agents are notoriously inaccurate.
3. The Primary Emulsification
In the bowl of a stand mixer, combine the potato puree, softened butter, salt, and eggs. Add the yeast mixture and whisk until the fats are fully suspended in the liquid.
Pro Tip: This step is where you infuse the fat into the starch. By emulsifying the butter early, you coat the flour particles later, which limits gluten development just enough to keep the bread tender rather than chewy.
4. The Structural Integration
Gradually add the bread flour while using the dough hook attachment. Mix on low speed until a shaggy mass forms, then increase to medium speed for 8 to 10 minutes. The dough should be tacky but should pull away cleanly from the sides of the bowl.
Pro Tip: Use a bench scraper to clear the sides of the bowl. You are looking for "windowpane" readiness; stretch a small piece of dough. If it becomes translucent without tearing, your Potato Bread Infrastructure is sound.
5. The Fermentation Cycle
Place the dough in a lightly oiled bowl and cover with a damp cloth. Let it rise in a warm, draft-free environment until doubled in size, approximately 60 to 90 minutes.
Pro Tip: This is the bulk fermentation phase. The yeast is consuming sugars and releasing carbon dioxide to aerate the dense potato matrix. Do not rush this; flavor develops during the rest.
6. The Final Architecture
Punch the dough down to release excess gas. Divide it into two equal portions and shape them into tight logs. Place them into greased loaf pans and let them rise again until the dough reaches one inch above the rim of the pan.
Pro Tip: Tension is key. Use your palms to pull the dough against the work surface, creating a "skin" on the top. This tension helps the loaf expand upward rather than outward during the bake.
7. The Thermal Execution
Bake at 375 degrees Fahrenheit for 35 to 40 minutes. The internal temperature should register 190 degrees on an instant-read thermometer.
Pro Tip: For a professional finish, brush the tops with melted butter immediately after removal. This softens the crust and adds a piquant richness to the final profile.
Section B: Prep & Timing Fault-Lines:
The most common failure in Potato Bread Infrastructure is temperature mismanagement. If the potato puree is too hot when added to the dough, it will "cook" the flour and kill the yeast. Conversely, if the ingredients are too cold, fermentation will stall, leading to a dense, brick-like loaf. Ensure your eggs and butter are at a true room temperature (70 degrees). If your kitchen is cold, use the oven with the light turned on as a makeshift proofing box to maintain a consistent 75 to 80 degree environment.
THE VISUAL SPECTRUM
Section C: Thermal & Visual Troubleshooting:
Referencing the Masterclass photo, your loaf should exhibit a deep, mahogany-toned crust with a slight sheen. If your bread looks dull or pale, you likely under-proofed the dough, or your oven temperature is too low. Uneven browning usually indicates "hot spots" in the oven; rotate your pans halfway through the bake to compensate. If the bread has a "mushroom top" that spills over the sides, the dough was allowed to rise too long before entering the oven, weakening the air bubbles. The crumb should be pale yellow and show a fine, tight grain without large, irregular holes. Large holes suggest you didn't degas the dough properly during the shaping phase.
THE DEEP DIVE
Macro Nutrition Profile:
Each slice of this engineered loaf provides approximately 180 calories, 4g of protein, 28g of carbohydrates, and 6g of fat. The addition of the potato increases the potassium and Vitamin C content compared to standard white bread, making it a slightly more nutrient-dense option for daily consumption.
Dietary Swaps:
- Vegan: Replace the butter with a high-quality vegan block butter (oil-based) and use a "flax egg" or omit the eggs entirely while increasing the potato water by 50ml.
- Keto/GF: This specific infrastructure relies on wheat gluten and potato starch. For a GF version, use a 1:1 gluten-free flour blend with added xanthan gum, though the texture will be significantly more dense.
Meal Prep & Reheating Science:
Potato bread excels at longevity. The starches undergo retrogradation more slowly than wheat-only loaves, meaning it stays soft for up to five days. To reheat, avoid the microwave, which can make the bread rubbery. Use a toaster or a low-heat oven to render the fats and soften the crumb without drying out the interior.
THE KITCHEN TABLE
Why is my potato bread so sticky?
Potato dough is naturally higher in moisture. Resist the urge to add excess flour; instead, use a bench scraper and lightly oiled hands. Over-flouring will destroy the delicate hydration balance and result in a heavy, dry loaf.
Can I use instant mashed potato flakes?
Yes, in a pinch. Use 1 cup of flakes mixed with 1 cup of boiling water. However, fresh Russets provide superior flavor and a more robust starch profile for the Potato Bread Infrastructure.
What if I don't have a stand mixer?
You can knead by hand, but be prepared for a 15-minute workout. The dough is "slack" and sticky, so use a folding technique rather than a traditional push-and-pull knead to build strength without making a mess.
How do I get that perfect shiny crust?
An egg wash (one egg beaten with a tablespoon of water) applied just before baking will provide a high-gloss finish. For a softer, matte finish, stick to the post-bake butter brush recommended in the Masterclass.