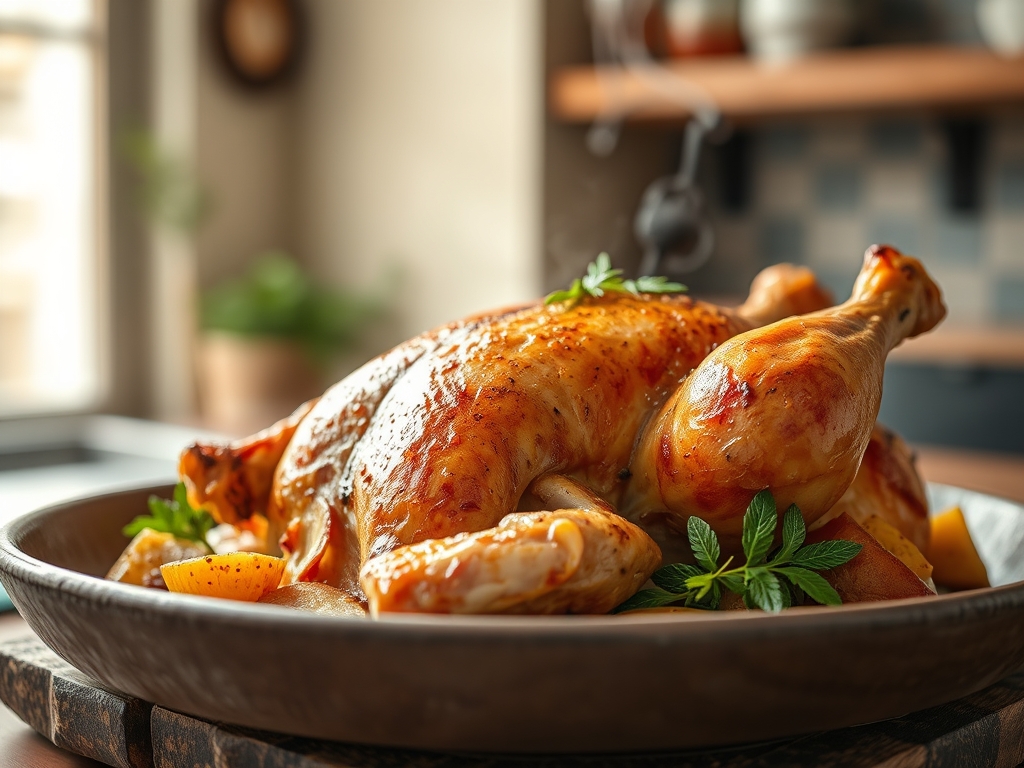
Listen to the sound of a structural failure that tastes like heaven. It is the rhythmic, glass-shattering crackle of a perfectly executed skin-on bird. We are not merely cooking dinner; we are performing a high-stakes audit of subcutaneous lipid rendering. The goal is the absolute optimization of Crispy Chicken Thighs. Most home cooks treat the chicken thigh like a blunt instrument, but we view it as a complex biological machine capable of profound textural transformation. When the heat meets the dermis, we initiate a controlled moisture evacuation that turns flabby tissue into a golden, brittle lattice of savory delight. This is the Maillard reaction pushed to its logical conclusion. If you are still pulling soggy, rubbery skin out of a crowded pan, you are failing the audit. We are here to recalibrate your kitchen infrastructure, fine-tune your thermal application, and ensure that every bite delivers a high-decibel crunch followed by a flood of internal moisture. Strap in; it is time to turn up the BTUs and achieve poultry perfection.
THE DATA MATRIX
| Metric | Specification |
|---|---|
| Prep Time | 15 Minutes (Active) / 24 Hours (Passive) |
| Execution Time | 25 Minutes |
| Yield | 4 Servings |
| Complexity (1-10) | 4 |
| Estimated Cost per Serving | $3.50 USD |
THE GATHERS
Ingredient Protocol:
- 4 Bone-in, Skin-on Chicken Thighs (approx. 800g / 1.75 lbs)
- Fine Sea Salt (15g / 1 tbsp)
- High-Smoke Point Oil (e.g., Avocado or Grapeseed) (30ml / 2 tbsp)
- Unsalted Butter (28g / 2 tbsp)
- Fresh Rosemary Sprigs (2 units)
- Garlic Cloves, smashed (3 units)
- Freshly Cracked Black Pepper (5g / 1 tsp)
Section A: Ingredient Quality Audit:
The primary failure point in most Crispy Chicken Thighs is moisture. If your chicken arrives in a vacuum-sealed bag filled with saline solution, you are starting with a deficit. This excess water creates steam, which is the mortal enemy of a crisp exterior. To fix this, you must perform a dry brine. Apply salt to the skin and leave it uncovered in the refrigerator for at least four hours. This process uses osmosis to draw moisture out and then reabsorb the seasoned liquid into the muscle fibers, seasoning the meat deeply while dehydrating the skin. If your thighs have ragged skin edges, use a bench scraper or sharp kitchen shears to trim the excess. This ensures uniform contact with the pan surface. If the fat is overly yellow or thick, it may indicate an older bird; this requires a longer, slower render to avoid a "chewy" texture.
THE MASTERCLASS

1. Thermal Equilibrium and Surface Prep
Remove the chicken from the refrigerator 20 minutes before cooking. Use a lint-free paper towel to aggressively pat the skin dry. Even if you dry-brined, surface condensation is your enemy. Weigh your portions using a digital scale to ensure even cooking times across the batch.
Pro Tip: This stage is about managing the thermal gradient. If the meat is ice-cold when it hits the pan, the muscle fibers will seize, pushing out internal juices and leaving you with a dry interior. Use a bench scraper to move the thighs without tearing the delicate, dehydrated skin.
2. The Cold Start or Low-Heat Initiation
Place the chicken thighs skin-side down in a cold 12-inch cast iron skillet or a heavy-bottomed saucier. Only then, turn the heat to medium-low. This allows the fat to render slowly before the proteins on the surface tighten and trap the moisture.
Pro Tip: Starting in a cold pan prevents the skin from shrinking too rapidly. As the fat melts, it acts as a heat-transfer medium, ensuring the skin fries in its own oil. This is the secret to that deep, mahogany color seen in the professional audit photos.
3. Weighted Compression
Place a smaller heavy pan or a dedicated kitchen weight on top of the thighs for the first five minutes. This ensures 100 percent surface-to-metal contact, preventing the edges from curling upward and leaving "pale spots."
Pro Tip: Consistent pressure facilitates an even Maillard reaction. Without compression, the bone structure of the thigh can lift sections of the skin away from the heat, leading to uneven textures. Professional chefs use this "under-brick" method to guarantee a uniform crunch.
4. The Aromatic Infusion
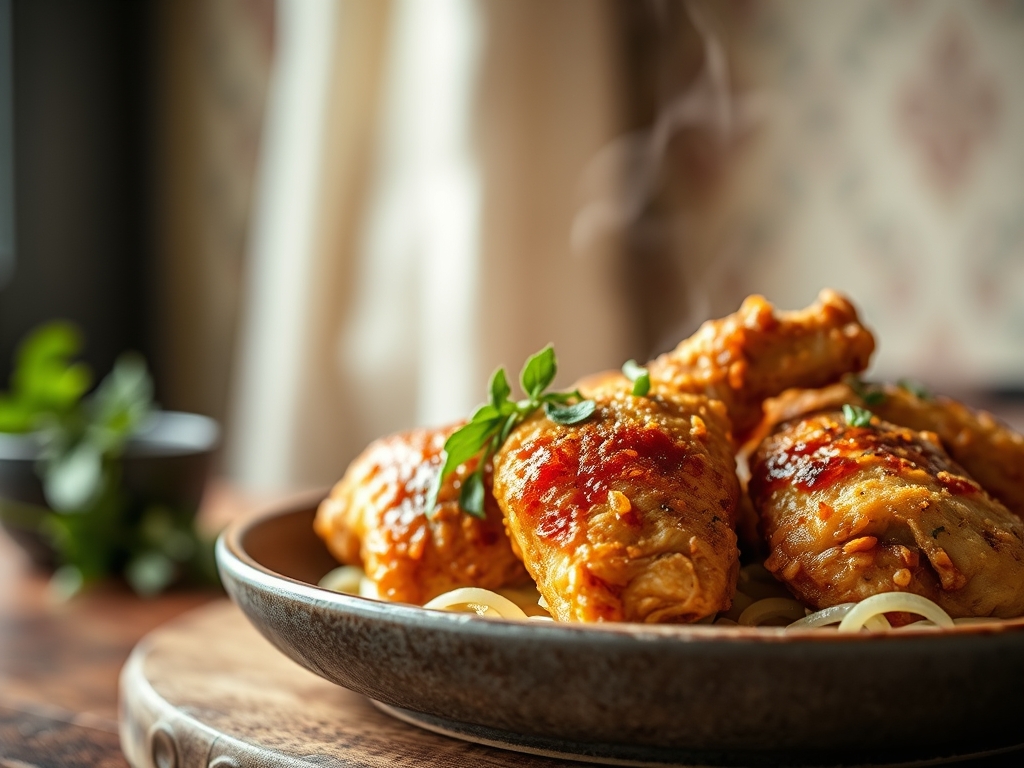
Once the skin is deeply golden and releases easily from the pan, flip the thighs. Toss in the butter, garlic, and rosemary. Tilt the pan and use a large spoon to infuse the bubbling fat over the skin. This is known as "arrosage."
Pro Tip: The butter solids will brown, adding a nutty complexity to the flavor profile. Use an instant-read digital thermometer to pull the chicken when the internal temperature hits 165 degrees Fahrenheit (74 Celsius). The carry-over heat will bring it to the perfect safety margin.
Section B: Prep & Timing Fault-Lines:
The most common human error is "pan-fiddling." If you try to flip the chicken and it sticks, it is not ready. The skin will naturally release once the proteins have sufficiently coagulated and the fat has rendered. Another fault-line is overcrowding. If you put four large thighs in a small pan, the ambient temperature drops and the moisture released from the meat creates a steam tent. This results in "boiled" chicken rather than fried. Use a pan large enough to leave at least an inch of space between each piece of poultry.
THE VISUAL SPECTRUM
Section C: Thermal & Visual Troubleshooting:
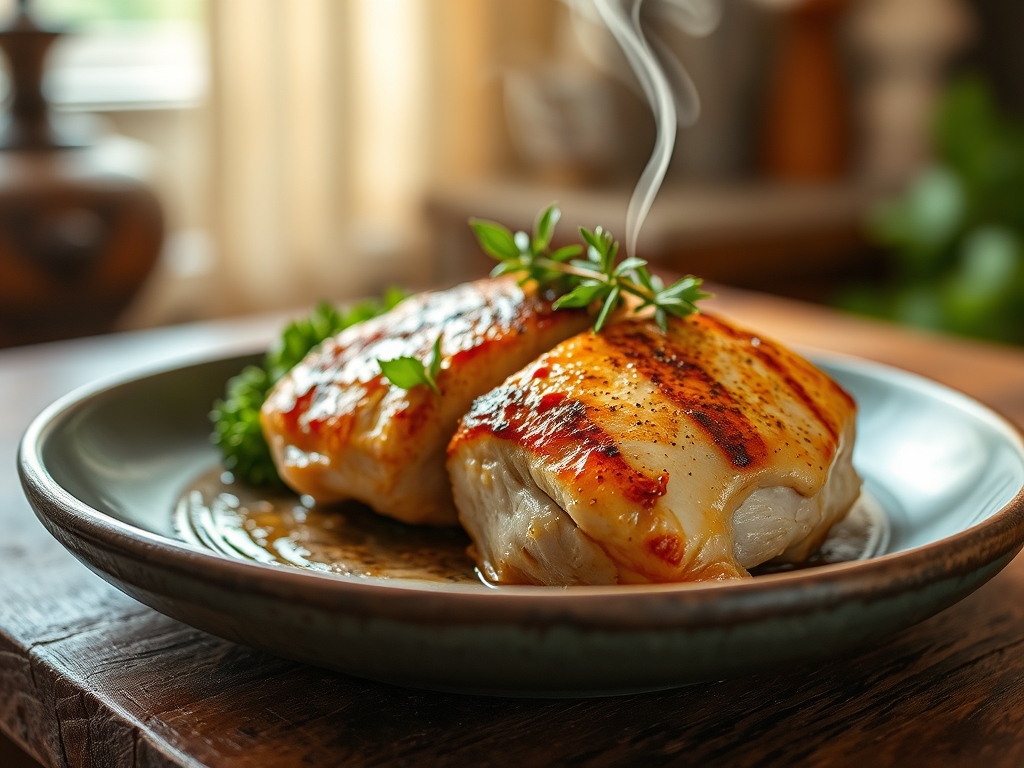
Look at the reference photo. Notice the "honeycomb" texture of the skin. If your chicken looks smooth and pale, your heat was too low or your pan was too crowded. If the skin is dark brown but the meat near the bone is still pink and translucent, your heat was too high; the exterior burned before the interior could conduct heat. The solution is to finish the chicken in a 400-degree oven if the skin reaches its visual peak before the internal temperature is safe. If the fat in the pan is smoking excessively, your oil has reached its "breakdown point." Immediately deglaze with a splash of wine or stock to lower the temperature and save the fond.
THE DEEP DIVE
Macro Nutrition Profile:
A standard 200g serving of bone-in, skin-on thighs provides approximately 450 calories, 35g of protein, and 32g of fat. While higher in lipids than the breast, the thigh contains more myoglobin and connective tissue, which converts to gelatin during cooking, providing a superior mouthfeel and higher satiety.
Dietary Swaps:
- Keto: This recipe is inherently ketogenic. Ensure you use grass-fed butter for optimal fatty acid profiles.
- Vegan: Replace the chicken with thick-cut "steaks" of Hen-of-the-Woods mushrooms. Use vegan butter and follow the same weighted-compression technique to achieve a similar crispy-savory result.
- Gluten-Free: This method uses no flour dredging, making it naturally gluten-free.
Meal Prep & Reheating Science:
To maintain the molecular structure when reheating, avoid the microwave at all costs. The microwave agitates water molecules, which will migrate into the skin and turn it into a rubbery mess. Instead, reheat in an air fryer or a toaster oven at 375 degrees Fahrenheit for 6 minutes. This re-activates the rendered fats and restores the brittle texture of the skin.
THE KITCHEN TABLE
Why is my chicken skin still rubbery?
You likely skipped the dry-brining phase or the pan wasn't hot enough to initiate the render. Moisture trapped under the skin turns into steam. Ensure the skin is bone-dry before it touches the pan.
Can I use boneless thighs for this?
Yes, but be warned; boneless thighs cook faster and lack the structural insulation of the bone. They are prone to overcooking. Reduce your total cook time by approximately 30 percent and monitor internal temperatures closely.
What is the best oil for searing?
Use avocado oil or refined grapeseed oil. These have high smoke points (above 400 degrees). Avoid extra virgin olive oil for this specific high-heat application, as it will oxidize and turn bitter.
How do I prevent the garlic from burning?
Only add the garlic and aromatics during the last 3 to 4 minutes of cooking. Garlic has a high sugar content and will turn acrid and black if subjected to the full rendering cycle.