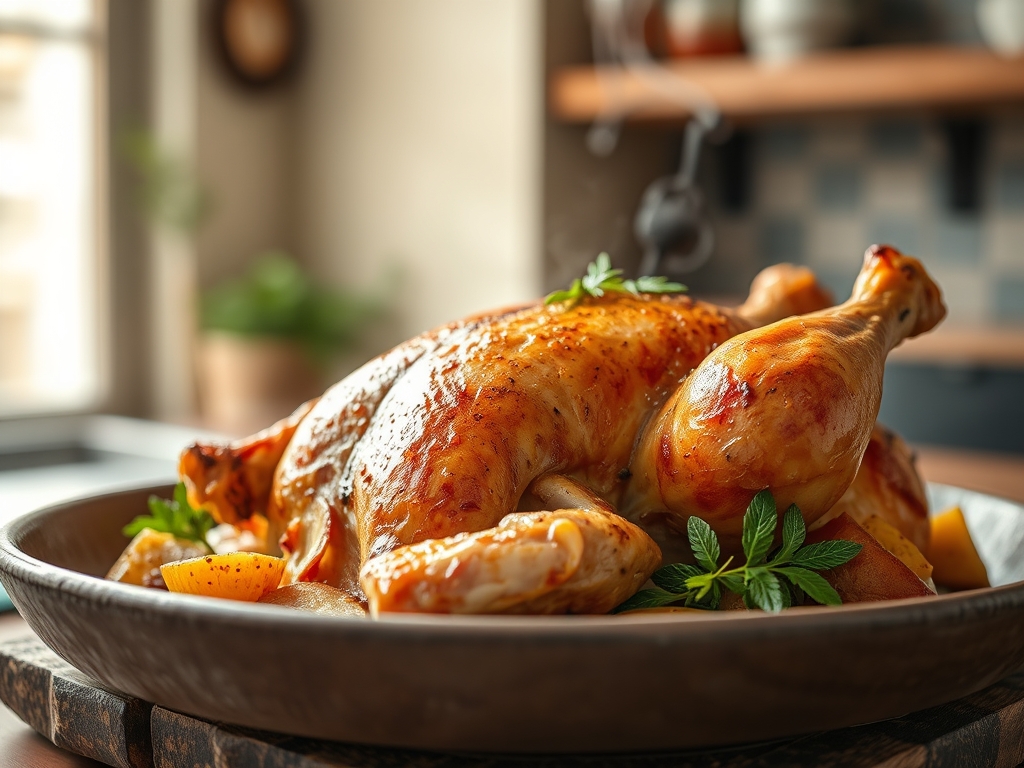
Listen to the sound of a dry, overcooked chicken breast; it is the sound of culinary failure. It is the squeak of protein fibers rubbing together like rusted hinges. We are here to dismantle that mediocrity and replace it with a masterclass in fluid dynamics. Achieving peak Chicken Breast Moisture is not an accident of luck; it is a calculated victory over evaporation and protein denaturation. When you slice into a perfectly executed breast, the internal juices should shimmer, held in place by a delicate lattice of restructured proteins. This is the infrastructure of flavor. We are looking for that golden-brown crust, a result of the Maillard reaction, protecting a core that remains succulent and tender. If your current results resemble sawdust wrapped in parchment, consider this your formal audit. We are moving beyond the "cook until white" mentality and entering the realm of precision thermal engineering. Prepare your workstation. We are about to transform a humble bird into a high-performance vehicle for salt, fat, and heat.
THE DATA MATRIX
| Metric | Specification |
|---|---|
| Prep Time | 20 Minutes |
| Execution Time | 12 Minutes |
| Yield | 4 Servings |
| Complexity (1-10) | 4 |
| Estimated Cost per Serving | $4.50 USD |
THE GATHERS
Ingredient Protocol:
- 2 Large Boneless Skinless Chicken Breasts (approx. 450g / 1 lb)
- Fine Sea Salt (10g / 2 tsp)
- Neutral High-Smoke Point Oil (30ml / 2 tbsp)
- Unsalted Butter (30g / 2 tbsp)
- Fresh Thyme Sprigs (3g / 3 sprigs)
- Garlic Cloves, smashed (10g / 2 cloves)
- Chicken Stock for deglazing (60ml / 0.25 cup)
Section A: Ingredient Quality Audit:
The most common failure point begins at the butcher counter. If your chicken is "enhanced" with a sodium phosphate solution, you are paying for water weight that will purge during cooking, leaving the meat spongy. Audit your raw materials by looking for "air-chilled" labels. Air-chilled poultry has not been submerged in a communal cold bath; this ensures the skin and surface tissues remain dry, allowing for a superior sear. If you find your meat is excessively wet, perform a dry-brine protocol. Coat the exterior in salt and leave it uncovered in the refrigerator for two hours. This uses osmotic pressure to draw moisture out, dissolve the salt, and then pull that seasoned brine back into the deep tissue, fundamentally altering the protein structure to better retain Chicken Breast Moisture during the thermal phase.
THE MASTERCLASS
1. Geometric Normalization
Chicken breasts are naturally asymmetrical, featuring a bulbous head and a tapering tail. This is a thermodynamic nightmare. Use a bench scraper to clear your station and place the breast between two sheets of plastic wrap. Use a meat mallet or the bottom of a heavy saucier to pound the thickest part until the entire fillet is a uniform thickness of approximately 2cm.
Pro Tip: Uniformity ensures that the heat travels to the center of the meat at a consistent rate. Without this, the tail will turn into leather before the head reaches a safe internal temperature.
2. Surface Dehydration and Seasoning
Use a paper towel to pat the surface until it is bone dry. Apply your salt and spices using a digital scale to ensure a 1.5 percent salinity by weight. A wet surface cannot sear; it can only steam. We need the surface proteins to undergo the Maillard reaction immediately upon contact with the pan.
Pro Tip: Moisture is the enemy of the crust. If the surface is damp, the energy of the pan is wasted evaporating water rather than browning the meat.
3. The Thermal Interface
Heat a heavy stainless steel or cast iron skillet over medium-high heat. Add your high-smoke point oil. Once the oil begins to shimmer and reach its smoke point, carefully lay the chicken away from you. Do not crowd the pan.
Pro Tip: Dropping too much cold meat into a pan causes a massive thermal dip. This leads to the meat "stewing" in its own juices rather than searing, destroying your chances of retaining Chicken Breast Moisture.
4. The Butter Baste and Infusion
Once a golden-brown crust has formed (about 5 minutes), flip the chicken. Add the butter, smashed garlic, and thyme to the pan. As the butter begins to foam and render the aromatics, tilt the pan and use a large spoon to continuously douse the chicken in the hot, flavored fat.
Pro Tip: Basting creates a convective heat transfer environment. The hot fat fills the microscopic gaps on the surface, accelerating the cooking process while adding a viscous, nutty flavor profile.
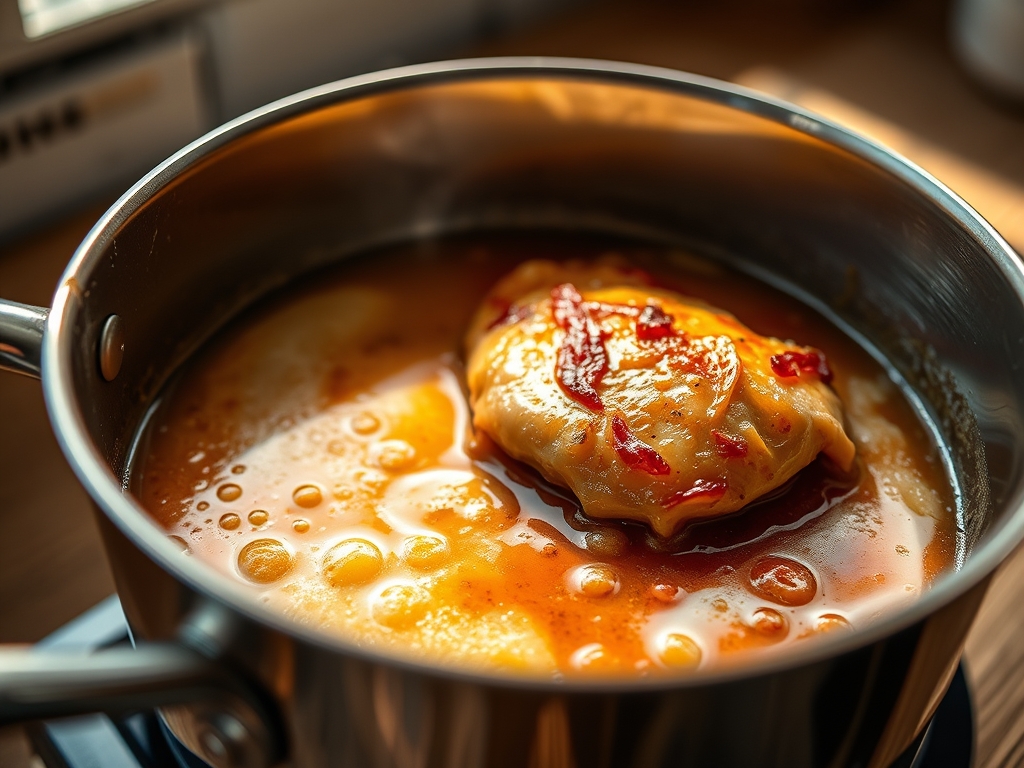
5. The Deglaze and Rest
Remove the chicken when it hits an internal temperature of 63C (145F). Set it on a wire rack. Pour the chicken stock into the hot pan to deglaze, scraping up the brown bits (fond) with a whisk. Pour this concentrated jus over the meat as it rests for at least 5 minutes.
Pro Tip: Resting allows the muscle fibers, which tightened under heat, to relax and reabsorb the internal fluids. If you cut it immediately, the Chicken Breast Moisture will end up on your cutting board instead of in your mouth.
Section B: Prep & Timing Fault-Lines:
The greatest human error is the reliance on visual "doneness" cues. If you wait until the center is no longer pink, you have already lost the war. Residual heat (carryover cooking) will raise the internal temperature by another 3 to 5 degrees after the meat leaves the pan. Use a calibrated digital probe thermometer. If you miss your window, the proteins will shrink and squeeze out the moisture like a wrung-out sponge. Furthermore, failing to pre-heat the pan sufficiently will result in the meat sticking to the surface, tearing the delicate outer membrane and allowing juices to escape prematurely.
THE VISUAL SPECTRUM
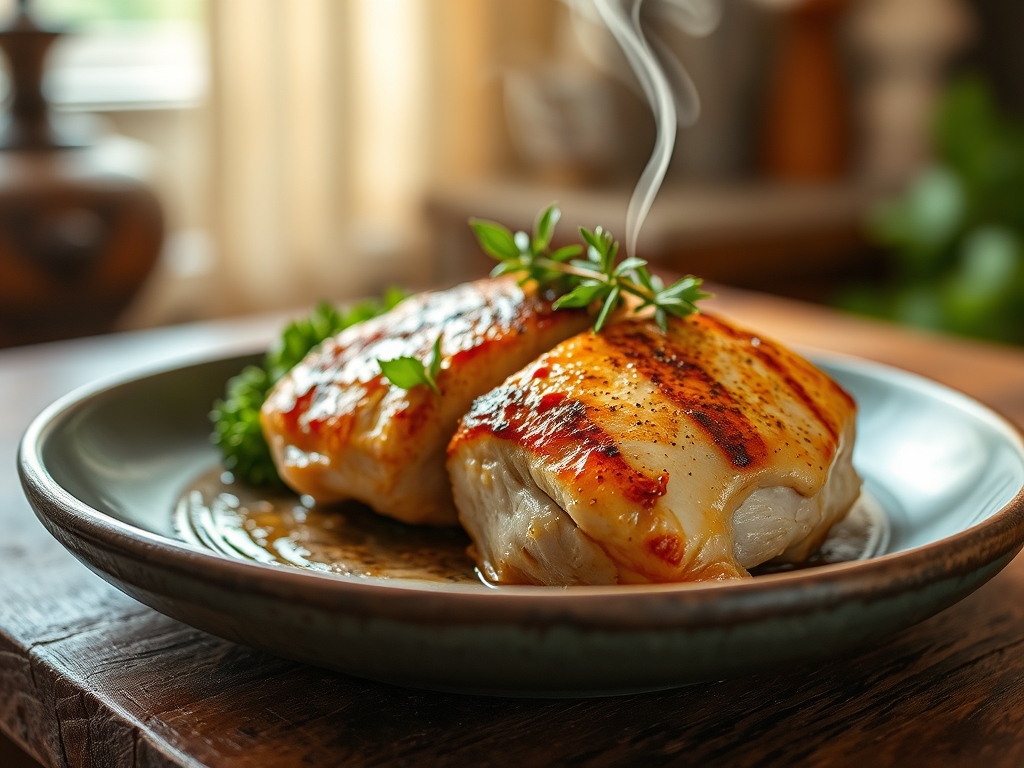
Section C: Thermal & Visual Troubleshooting:
Look at the Masterclass photo above. Notice the deep, mahogany-colored crust; this is the visual indicator of a successful Maillard reaction. If your chicken looks pale or grey, your pan temperature was too low. If the edges are charred but the center is raw, your heat was too high, causing the exterior to burn before the interior could conduct heat. Note the "glistening" quality of the sliced meat in the image. This indicates that the capillary fluid is still trapped within the protein matrix. If the meat appears matte or fibrous, it has been overcooked. To fix a dull appearance, ensure you are using enough fat during the basting phase to create a reflective, piquant glaze that coats the exterior.
THE DEEP DIVE
Macro Nutrition Profile:
A standard 150g serving of this prepared chicken provides approximately 35g of high-quality protein, 8g of fat (primarily from the butter baste), and 0g of carbohydrates. It is a lean, nutrient-dense power cell.
Dietary Swaps:
- Vegan: Substitute the chicken with a thick-cut "steak" of cauliflower or seitan. Use vegan butter (oil-based) for the basting phase to maintain the viscous mouthfeel.
- Keto: This recipe is naturally keto-compliant. Increase the butter volume to 45g to boost the fat-to-protein ratio.
- GF: The recipe is naturally gluten-free; ensure your chicken stock is certified GF to avoid hidden thickening agents.
Meal Prep & Reheating Science:
To maintain molecular structure during reheating, avoid the microwave. The microwave agitates water molecules violently, causing them to steam out of the meat and leaving it rubbery. Instead, reheat the chicken in a covered saucier with a tablespoon of water or stock over low heat. This creates a gentle steam environment that rehydrates the fibers without overshooting the target temperature.
THE KITCHEN TABLE
How do I stop chicken from sticking?
Ensure the pan is hot and the meat is dry. When the protein bonds properly sear, they will naturally "release" from the metal. If it sticks, it is not ready to be flipped.
Is pink chicken always dangerous?
Color is a poor indicator of safety. A slight pink hue can exist in perfectly safe, pasteurized chicken cooked to 65C. Trust your digital thermometer over your eyes every single time.
Can I use olive oil for searing?
Extra virgin olive oil has a low smoke point and will burn, creating bitter flavors. Use a neutral oil like avocado or grapeseed for the initial sear, then add butter for flavor.
Why is my chicken rubbery?
Rubbery texture is usually the result of "woody breast syndrome" in low-quality poultry or extreme overcooking. Stick to air-chilled birds and precise temperature monitoring to ensure maximum Chicken Breast Moisture.