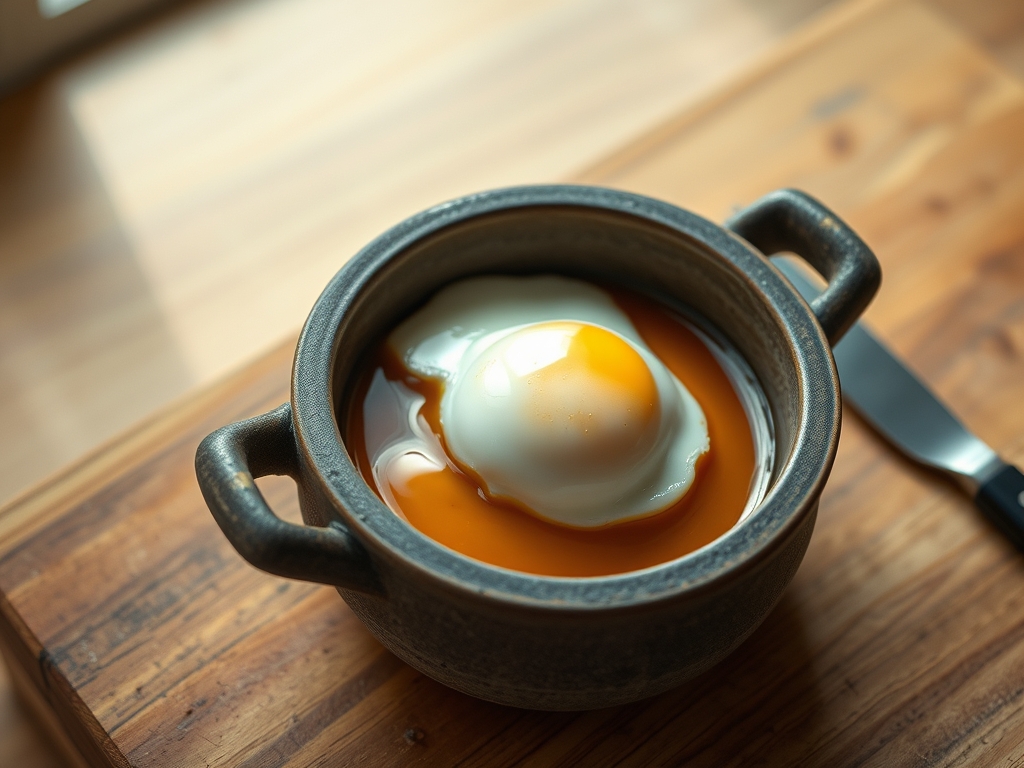
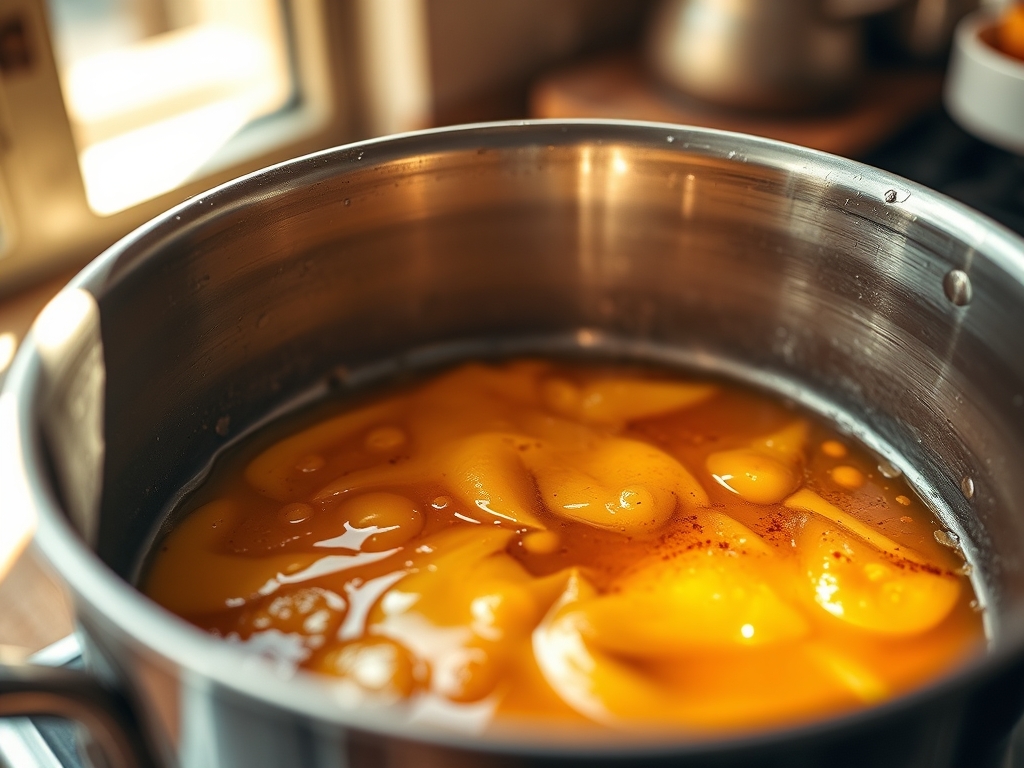
Imagine a culinary diamond forged not by heat; but by the relentless, silent pressure of salt. We are talking about the ultimate umami concentrate: Cured Egg Yolks. This is not mere cooking; it is a structural overhaul of a lipid-heavy biological system. When you bury a raw yolk in a saline grave, you are initiating a process of osmotic dehydration. The salt acts as a molecular pump, drawing out moisture until the yolk transforms from a fragile, viscous liquid into a firm, grateable puck of pure gold. The flavor is a piquant explosion of concentrated fats and minerals. It is the kitchen's secret weapon; a shelf-stable condiment that shatters the boundaries between dairy and seasoning. If you have ever wanted to grate sunshine over a bowl of carbonara or infuse a simple salad with the richness of a thousand suns, you have found your medium. This article is your technical audit of the most efficient flavor-delivery system in the modern pantry. We are moving beyond the basic recipe into the realm of infrastructure and precision.
THE DATA MATRIX
| Metric | Specification |
|---|---|
| Prep Time | 20 Minutes |
| Execution Time | 4 to 7 Days (Dehydration Phase) |
| Yield | 6 to 12 Individual Yolks |
| Complexity (1-10) | 4 (Requires patience over skill) |
| Estimated Cost per Serving | $0.45 USD |
THE GATHERS
Ingredient Protocol:
- 6 to 12 Large Organic Eggs (Pasture-raised for high pigment density).
- 500g / 2 cups Kosher Salt (Diamond Crystal preferred for surface area).
- 400g / 2 cups Granulated White Sugar.
- 10g / 2 tsp Black Peppercorns (Whole).
- 5g / 1 tsp Toasted Cumin Seeds (Optional for aromatic depth).
- 2g / 1/2 tsp Smoked Paprika (For a deep amber hue).
Section A: Ingredient Quality Audit:
The integrity of your Cured Egg Yolks depends entirely on the structural stability of the raw yolk membrane. If your eggs are older than a week, the vitelline membrane weakens; leading to "yolk blowout" the moment they touch the salt bed. To fix this, perform a float test; if the egg stands upright in water, the air pocket is too large and the yolk is too fragile. Always use the freshest eggs available. If your salt is too fine (like table salt), the osmotic pressure will be too aggressive, resulting in a bitter, over-salted exterior and a raw center. The fix is a 50/50 blend of kosher salt and sugar to buffer the sodium intake and create a balanced flavor profile.
THE MASTERCLASS
1. The Bed Construction
Whisk your salt, sugar, and aromatics in a stainless steel bowl until the mixture is perfectly homogenous. Using a digital scale, ensure your ratios are exact. Spread half of this mixture into a glass baking dish, creating a flat, even substrate at least one inch deep. Use the back of a measuring spoon to press small, shallow indentations into the salt bed, spaced two inches apart.
Pro Tip: Use a bench scraper to level the salt surface before making your indentations. The science here is surface area contact; an uneven bed leads to uneven dehydration, leaving soft spots that can harbor bacteria.
2. The Separation Protocol
Carefully crack each egg, separating the white from the yolk. You must ensure no trace of albumen remains attached to the yolk, as the white will cure into a rubbery, unpleasant film. Gently slide one yolk into each prepared indentation in the salt bed.
Pro Tip: Do not separate eggs by tossing them between shell halves, which can puncture the membrane. Instead, use your clean hand as a sieve. The natural oils on your skin provide a frictionless surface that protects the viscous yolk.
3. The Burial Phase
Gently pour the remaining salt and sugar mixture over the yolks until they are completely submerged and invisible. Cover the dish tightly with plastic wrap to prevent the salt from absorbing ambient refrigerator odors. Place the dish in the back of the refrigerator, where the temperature is most stable.
Pro Tip: If you are using a saucier to prepare a side dish while you wait, remember that these yolks require 4 to 5 days of dormant time. The salt is currently performing a "cold cook," denaturing proteins without the use of thermal energy.
4. The Extraction and Rinse
After 4 to 5 days, the yolks should feel firm to the touch, like a gummy candy. Carefully dig them out of the salt. They will be translucent and bright. Rinse each yolk under a very slow stream of cold water to remove excess salt crystals, then pat them dry with a lint-free paper towel.
Pro Tip: Use a small pastry brush to gently agitate any stubborn salt clusters. Over-rinsing can reintroduce moisture to the surface, so speed is essential to maintain the molecular structure.
5. The Final Desiccation
To achieve a grateable texture, the yolks need a final drying phase. Place them on a wire cooling rack set over a sheet pan. Dry them in a low-temperature oven (65C / 150F) for 2 to 3 hours, or use a dedicated dehydrator. They are finished when they feel like a hard cheese.
Pro Tip: Use an oven thermometer to verify your heat. If the temperature exceeds 75C, the fats will render and leak out, leaving you with a greasy, crumbly mess rather than a firm, crystalline yolk.
Section B: Prep & Timing Fault-Lines:
Timing is the most common failure point in the infrastructure of Cured Egg Yolks. If you pull them too early (under 3 days), the center remains liquid, making it impossible to grate. If you leave them in the salt for more than 7 days, they become "salt-burned," turning into hard, bitter rocks that lack the creamy mouthfeel of a proper cure. Always set a digital alert for the 96-hour mark to check for firmness. If the refrigerator humidity is too high, the salt may turn into a slurry; ensure your container is airtight.
THE VISUAL SPECTRUM
Section C: Thermal & Visual Troubleshooting:
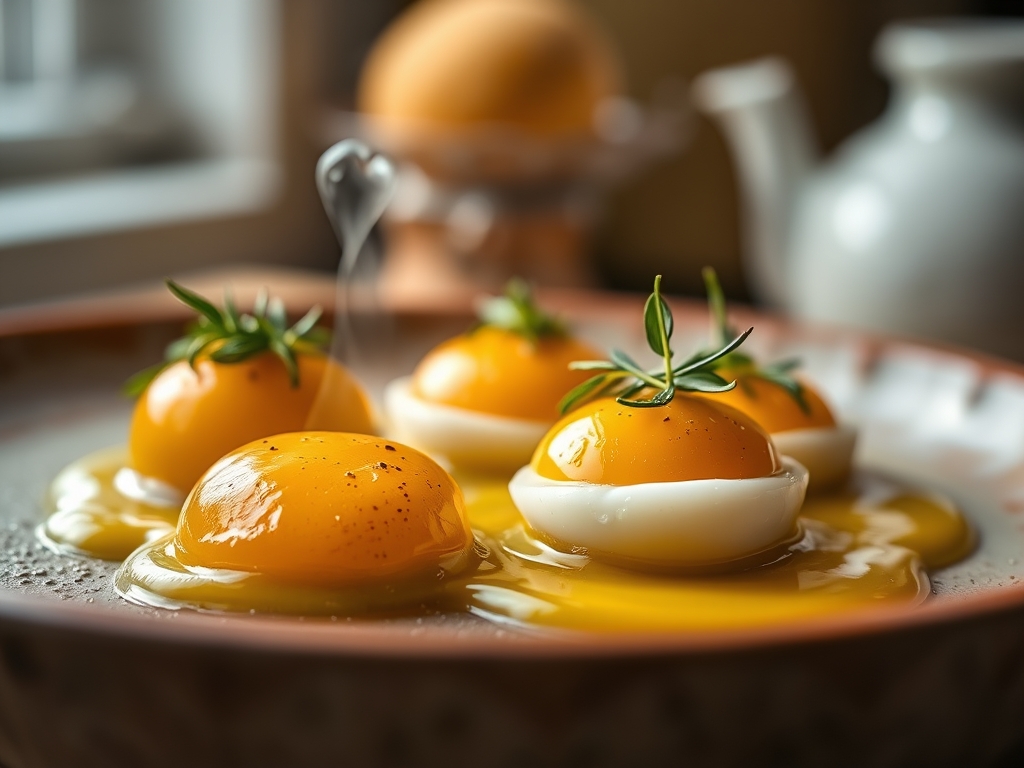
Look at the Masterclass photo: notice the deep, sunset-orange hue and the matte, slightly translucent finish. If your yolks appear pale or yellow, your raw material lacked carotenoids; next time, source eggs with darker yolks. If you see white spotting on the surface, it is likely undissolved sugar or salt; a quick rinse and a longer drying phase in the oven will fix this. If the yolks look "shriveled" rather than plump and firm, the salt-to-sugar ratio was too high in sodium. The goal is a uniform, jewel-like appearance that looks like a piece of polished amber.
THE DEEP DIVE
Macro Nutrition Profile:
Cured Egg Yolks are a fat-dominant condiment. One yolk contains approximately 55 calories, 4.5g of fat, 2.5g of protein, and a significant amount of Vitamin A and Choline. However, the sodium content is high (roughly 200mg per serving), so they should be used as a seasoning rather than a primary protein source.
Dietary Swaps:
- Vegan: It is impossible to replicate the lipid structure of a yolk perfectly, but a firm "yolk" can be mimicked using a sphere of nutritional yeast, miso paste, and refined coconut oil, though it will not undergo the same osmotic cure.
- Keto/GF: This recipe is naturally Keto and Gluten-Free. To lower the glycemic impact, replace the sugar with an erythritol-based sweetener, though the texture may vary slightly.
Meal Prep & Reheating Science:
Once fully cured and dried, these yolks will last in an airtight container in the fridge for up to 2 months. Do not reheat them directly; they are designed to be grated over hot food. The residual heat from a steak or a bowl of pasta is enough to slightly infuse the fats into the dish without breaking the yolk's structure.
THE KITCHEN TABLE
How do I know if they are done?
The yolks should have the consistency of a firm Gruyere or a semi-hard cheddar. If you press the center and it yields significantly, they require another 24 hours in the salt or an extra hour in the dehydrator.
Can I reuse the salt and sugar mixture?
Yes. Spread the mixture on a sheet pan and dry it in a low oven to remove absorbed moisture. Sift out any clumps. This "egg-infused" salt is incredible for seasoning popcorn or rimming cocktail glasses.
Why did my yolks turn brown?
This is likely due to the Maillard reaction if your drying oven was too hot, or oxidation if they were left uncovered. Ensure the oven stays below 150F and keep the finished yolks in a dark, airtight container.
What is the best way to serve them?
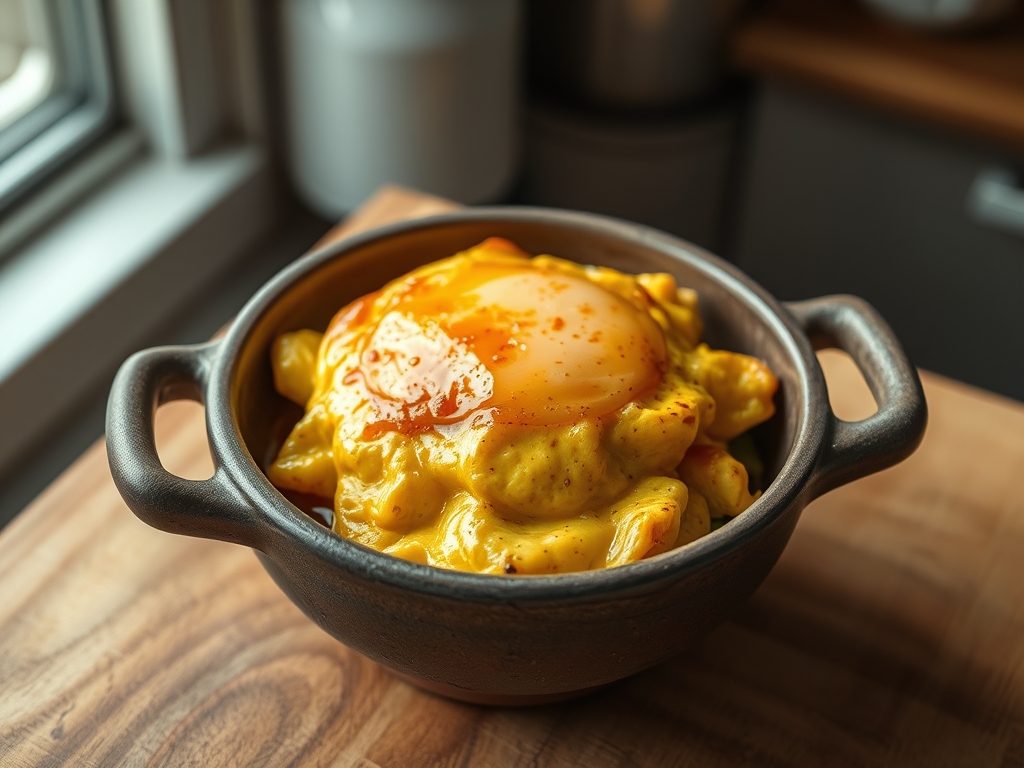
Microplane them over avocado toast, beef tartare, or roasted asparagus. The fine shavings will aerate and melt on the tongue, providing a rich, savory finish that traditional salt cannot achieve.