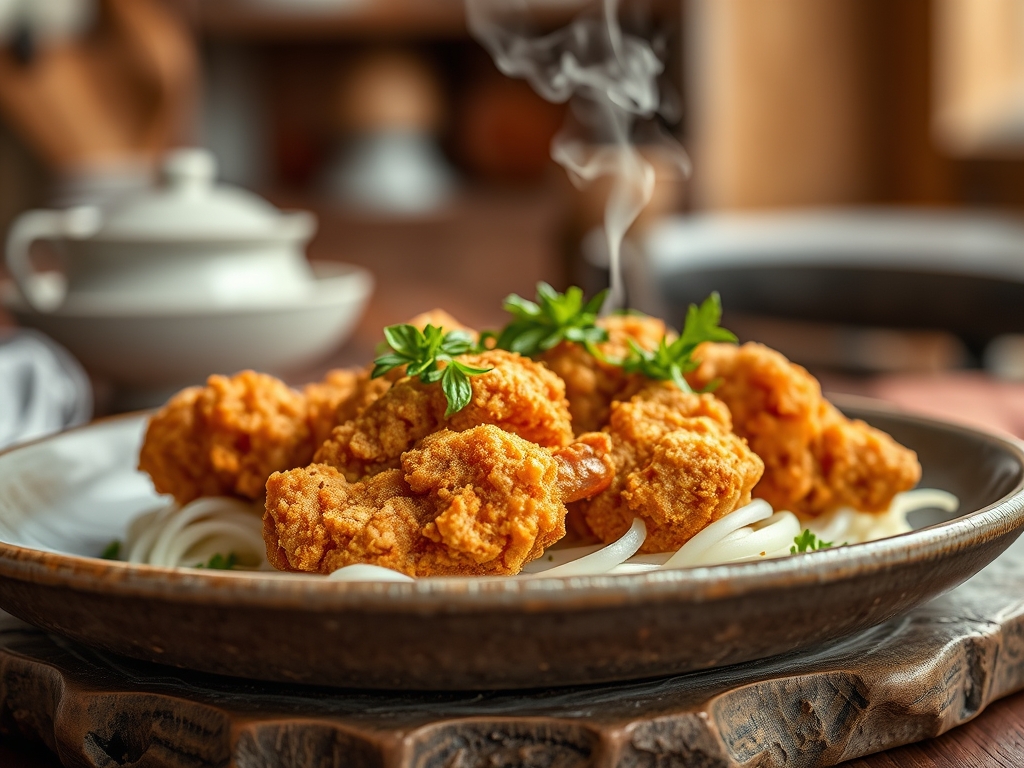
Imagine a structural failure at the center of your dinner plate. You slice into a golden crust, expecting a volcanic eruption of molten Swiss cheese and savory ham, but instead, you find a weeping, gray cavity of under-seasoned poultry. This is the nightmare of the amateur cook, but for the culinary infrastructure auditor, it is a call to arms. We are here to discuss the Chicken Cordon Bleu; a masterpiece of architectural protein engineering that demands more than just a recipe. It requires a blueprint. We are talking about the perfect synchronization of the Maillard reaction on the exterior and a controlled thermal melt on the interior. The piquant snap of high-quality ham must be shielded by a succulent breast of chicken, all while a crispy breading acts as the load-bearing wall for the entire operation. This is not just a meal; it is a high-stakes deployment of fat, salt, and heat. If the structural integrity of your stuffing fails, the culinary experience collapses. Let us ensure your infrastructure is sound.
THE DATA MATRIX
| Metric | Specification |
|---|---|
| Prep Time | 45 Minutes |
| Execution Time | 25 Minutes |
| Yield | 4 Servings |
| Complexity (1-10) | 7 |
| Estimated Cost per Serving | $4.50 – $6.00 |
THE GATHERS
Ingredient Protocol:
- 4 Large Chicken Breasts (approx. 225g / 8oz each)
- 8 Slices Swiss or Gruyere Cheese (200g / 7oz)
- 8 Slices Deli Ham, thinly shaved (150g / 5.3oz)
- 125g / 1 cup All-purpose flour
- 3 Large Eggs, beaten (150ml / 0.6 cups)
- 200g / 2 cups Panko breadcrumbs
- 5g / 1 tsp Smoked paprika
- 60ml / 0.25 cups Clarified butter or high-smoke point oil
- 10g / 2 tsp Kosher salt
- 5g / 1 tsp Cracked black pepper
Section A: Ingredient Quality Audit:
The primary failure point in Chicken Cordon Bleu is moisture migration. If your chicken breasts are "plumped" with a saline solution from the factory, they will purge water during the cook, steaming the breading from the inside out. Audit your poultry; look for air-chilled birds to ensure the protein fibers can render and tighten without excess liquid. If your Swiss cheese is too young, it will become viscous and oily rather than creamy. Opt for an aged Gruyere for better structural stability and a more piquant profile. If your ham is "water-added," pat it dry with a lint-free towel before rolling. Excess moisture is the enemy of the bond.
THE MASTERCLASS
Step 1: The Butterfly and Flattening
Place the chicken breast on a heavy-duty cutting board. Using a sharp chef's knife, butterfly the breast without cutting all the way through. Cover with plastic wrap and use a heavy meat mallet to pound the meat to a uniform thickness of 6mm (1/4 inch).
Pro Tip: Use a digital scale to ensure each breast is within 10 grams of each other. Uniformity in mass ensures uniform thermal conduction. Pounding the meat breaks down tough connective tissues, allowing the protein to remain tender even after the double-cook process.
Step 2: The Structural Layering
Season the interior of the chicken with salt and pepper. Lay two slices of cheese and two slices of ham over the meat, leaving a 1cm border at the edges. Roll the chicken tightly, tucking in the ends like a burrito. Wrap the cylinder tightly in plastic wrap and chill for 30 minutes.
Pro Tip: The chilling phase is non-negotiable. It allows the proteins to "set" in their new shape. A bench scraper can help you lift and tuck the meat tightly against the plastic wrap to eliminate air pockets that cause uneven cooking.
Step 3: The Standard Breading Procedure
Set up three shallow bowls. Bowl one: flour seasoned with paprika. Bowl two: eggs beaten until they aerate slightly. Bowl three: panko breadcrumbs. Dredge the chilled chicken rolls in flour, then egg, then panko, pressing firmly to adhere.
Pro Tip: For a superior "crunch factor," use your hands to crush about 20% of the panko into a finer powder. This fills the gaps between the larger crumbs, creating a more impenetrable barrier that prevents cheese leakage.
Step 4: The Searing Phase
Heat clarified butter in a heavy saucier or cast-iron skillet over medium-high heat. Once the fat shimmers, carefully place the chicken rolls in the pan. Sear on all sides until deep golden brown, approximately 2 minutes per side.
Pro Tip: Use an infrared thermometer to ensure your oil is between 175C and 190C (350F-375F). If the oil is too cool, the breading will absorb fat and become greasy; if too hot, the exterior will char before the interior cheese reaches its melting point.
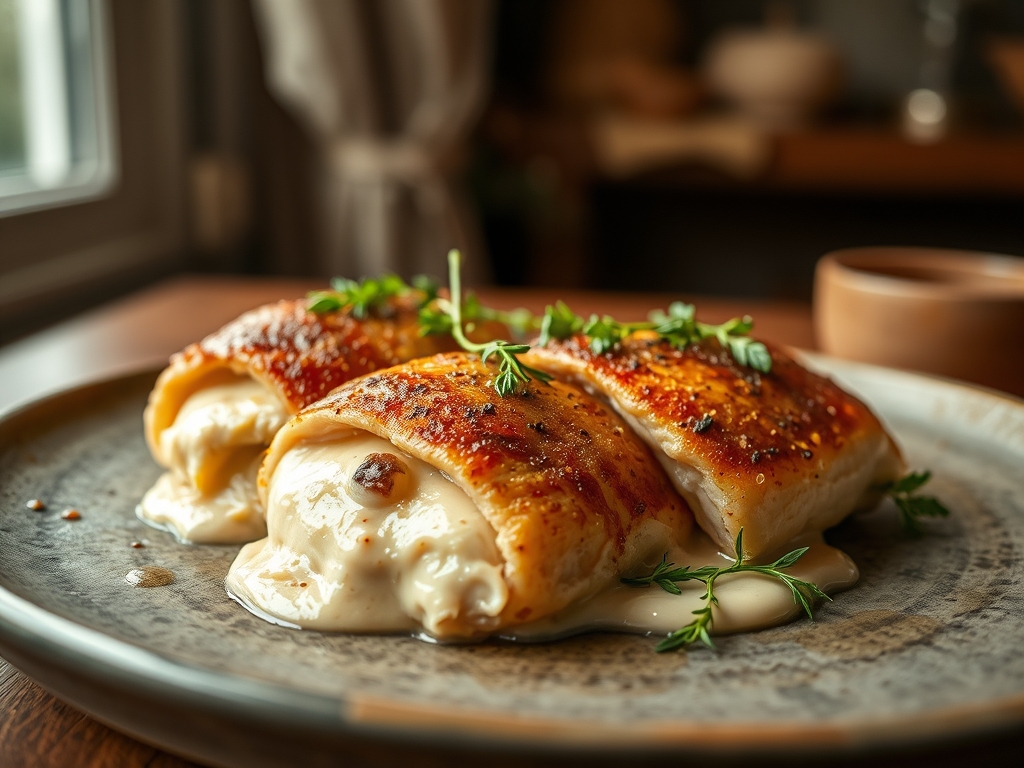
Step 5: The Thermal Finish
Transfer the pan to a preheated oven at 200C (400F). Roast for 10 to 12 minutes or until the internal temperature reaches 74C (165F). Remove from the oven and let rest for 5 minutes before slicing.
Pro Tip: Use a digital probe thermometer to monitor the internal core. Resting the meat allows the juices to redistribute and the cheese to stabilize. If you cut it immediately, the molten center will evacuate the cavity, leaving you with a hollow shell.
Section B: Prep & Timing Fault-Lines:
The most common timing error is skipping the resting phase. When heat is applied, muscle fibers contract and push moisture toward the center. Resting allows these fibers to relax and reabsorb that moisture. Another fault-line is "crowding the pan." If you attempt to sear four large breasts in a small skillet, the temperature of the fat will plummet, leading to a soggy, pale crust. Execute in batches if necessary to maintain thermal momentum.
THE VISUAL SPECTRUM
Section C: Thermal & Visual Troubleshooting:
Referencing the Masterclass photo, observe the "honey-gold" hue of the panko. If your crust is "patchy" or white in spots, you did not use enough fat during the searing phase; the breading must be partially submerged to fry evenly. If the ham appears gray rather than pink, it has been overcooked; check your oven calibration. If you see a "cheese blowout" where the filling has escaped, your rolling technique was too loose or your chicken was pounded too thin, causing a structural breach. A perfect Cordon Bleu shows distinct, concentric circles of chicken, ham, and cheese when sliced.
THE DEEP DIVE
Macro Nutrition Profile:
A standard serving (one 225g breast) contains approximately 550 calories. The breakdown is roughly 52g protein, 28g fat, and 22g carbohydrates. The high protein content is offset by the saturated fats in the cheese and butter, making this a high-energy "recovery" meal.
Dietary Swaps:
- Keto: Replace panko with crushed pork rinds or almond flour. Use heavy cream instead of egg wash for a higher fat-to-carb ratio.
- Vegan: Use a "seitan" style chicken substitute, vegan ham slices, and a cashew-based "Swiss" cheese. Swap the egg wash for a flax-meal slurry.
- Gluten-Free: Utilize rice-based panko and a 1-to-1 gluten-free flour blend. Ensure the ham is certified gluten-free, as some deli meats use grain-based fillers.
Meal Prep & Reheating Science:
To maintain molecular structure when reheating, avoid the microwave. The microwave excites water molecules, which will steam the breading from the inside and turn it into mush. Instead, use an air fryer or toaster oven at 175C (350F) for 8 minutes. This re-crisps the exterior while gently warming the core cheese without over-coagulating the chicken proteins.
THE KITCHEN TABLE
Why does my cheese always leak out?
This is usually a failure of the "seal." Ensure the chicken is pounded thin enough to wrap around the filling at least 1.5 times. Chilling the rolled chicken in plastic wrap before breading is the secret to a structural lock.
Can I bake these instead of frying?
Yes, but you will lose the uniform golden crust. To compensate, toast your panko in a dry pan with a bit of oil before breading. This "pre-browns" the crumbs so they look appetizing after a stint in the oven.
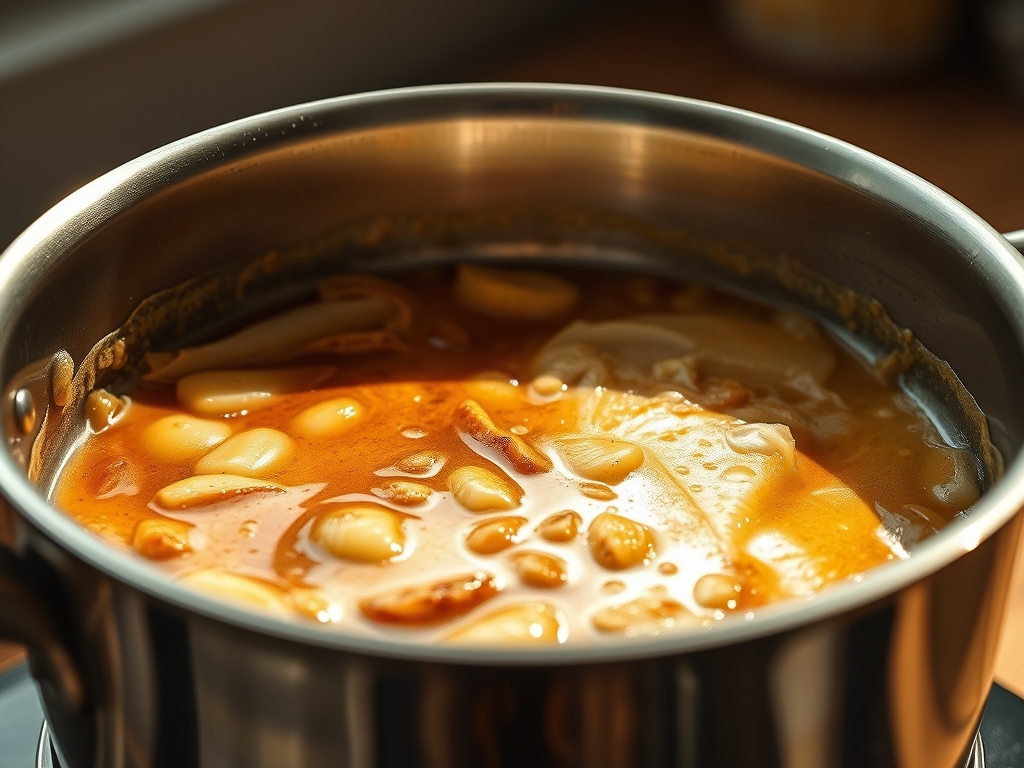
What is the best sauce for this?
A classic Dijon cream sauce is the gold standard. Deglaze your searing pan with white wine, add heavy cream and Dijon mustard, and reduce until it is thick enough to coat the back of a spoon.
How do I know if the chicken is dry?
If the meat appears stringy or "woody," it has passed 77C (170F). The goal is 74C (165F). Using a digital thermometer is the only way to guarantee a succulent interior while maintaining the infrastructure of the dish.