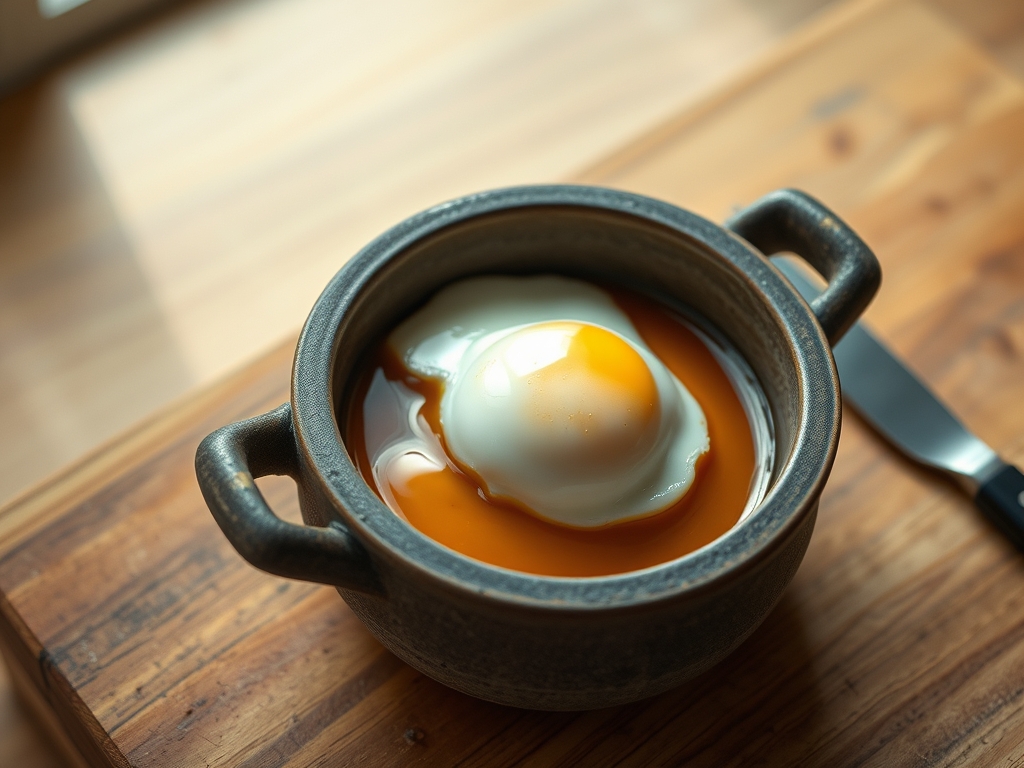
Imagine a culinary landscape where the structural integrity of a morning staple is completely reimagined through the lens of molecular physics. We are moving beyond the pedestrian scramble and the predictable poach. We are entering the realm of Cloud Egg Tech. This is a technical audit of the most visually arresting breakfast infrastructure ever conceived. The process begins with a violent separation of phases; the yolk is sequestered while the viscous albumen is subjected to high-velocity aeration. You are not just cooking; you are constructing a proteinaceous foam that must withstand the thermal stress of a high-heat oven. The goal is a texture that mimics a cumulus cloud; a crisp, golden exterior that yields to a soft, airy interior, all surrounding a molten, sun-like core. It is high-stakes breakfast engineering that demands precision, speed, and a deep understanding of protein denaturation. If you fail to stabilize the foam, the structure collapses into a rubbery puddle. If you succeed, you achieve a dish that is as piquant as it is ethereal. Welcome to the audit.
THE DATA MATRIX
| Metric | Specification |
|---|---|
| Prep Time | 8 Minutes |
| Execution Time | 6 Minutes |
| Yield | 2 Servings |
| Complexity (1-10) | 7 |
| Estimated Cost per Serving | $0.85 |
THE GATHERS
Ingredient Protocol:
- 4 Large Eggs (Room Temperature)
- 30g / 1/4 cup Freshly Grated Parmesan Cheese
- 1g / 1/4 tsp Cream of Tartar
- 1g / 1/4 tsp Sea Salt
- 0.5g / 1/4 tsp Cracked Black Pepper
- 5g / 1 tsp Fresh Chives (Finely Minced)
Section A: Ingredient Quality Audit:
The primary failure point in Cloud Egg Tech is often the age of the raw materials. Old eggs have thin, watery whites that lack the structural proteins necessary to hold a stable foam. If your whites refuse to aerate into stiff peaks, your albumen is likely too alkaline. To fix this, always include an acid like cream of tartar to lower the pH and stabilize the protein bonds. Furthermore, if your cheese is pre-shredded, the anti-caking agents will weigh down the foam and cause a structural collapse. Always use a microplane to grate hard cheeses into a fine dust; this ensures the fat is distributed without compromising the lift.
THE MASTERCLASS

Step-by-Step Execution:
1. Phase Separation and Preparation
Carefully crack each egg and separate the yolk from the white. Place the whites into a clean glass or stainless steel bowl. Reserve each yolk in an individual small ramekin to prevent breakage. Ensure your bowl is completely free of fat or residual oil.
Pro Tip: Use a digital scale to ensure your whites are uniform in volume. Even a microscopic trace of yolk (fat) will prevent the whites from reaching maximum volume; use a piece of eggshell to surgically remove any stray yolk drops.
2. High-Velocity Aeration
Add the cream of tartar and salt to the whites. Using a stand mixer or a high-powered hand mixer, whip the whites on medium-high speed until they reach stiff, glossy peaks. The mixture should not move when the bowl is inverted.
Pro Tip: The science here is protein denaturation. As you aerate the mixture, you are unfolding egg proteins and trapping air. A saucier whisk attachment is ideal for creating the smallest, most stable air bubbles for a finer crumb.
3. Structural Integration
Gently fold in the finely grated parmesan and minced chives using a silicone spatula. Use a "cut and fold" motion to maintain the air pockets you just created. Do not over-mix, or you will render the foam back into a liquid state.
Pro Tip: This is where many technicians fail. Use a bench scraper to gently lift the bottom of the foam over the top. This ensures even distribution of the piquant cheese without crushing the delicate cellular structure.
4. Thermal Foundation
Line a baking sheet with parchment paper. Divide the foam into four large mounds. Use the back of a spoon to create a deep well in the center of each mound. Bake at 230C / 450F for 3 minutes until the surface begins to show a pale golden hue.
Pro Tip: Pre-heating your baking sheet ensures the bottom of the "cloud" sets immediately, preventing it from spreading. This creates a thermal barrier that protects the delicate interior.
5. Yolk Integration and Final Cure
Slide one yolk into each pre-baked well. Return the tray to the oven for an additional 2 to 3 minutes. The goal is to set the white completely while keeping the yolk in a viscous, liquid state.
Pro Tip: Use an infrared thermometer to check the oven floor temperature. Inconsistent heat leads to uneven browning. A digital scale can also be used to weigh the finished product; a lighter egg indicates better moisture evaporation and superior lift.
Section B: Prep & Timing Fault-Lines:
The most common human error in Cloud Egg Tech is the "Cold Start." Cold eggs have stronger molecular bonds that resist expansion. If you use eggs straight from the refrigerator, you will need to whip them for 30% longer to achieve the same volume. Another fault-line is the "Post-Whip Delay." Once the whites are whipped, the clock is ticking. Gravity and surface tension will begin to collapse the foam within 120 seconds. You must have your oven pre-heated and your yolks staged before you even turn on the mixer.
THE VISUAL SPECTRUM
Section C: Thermal & Visual Troubleshooting:
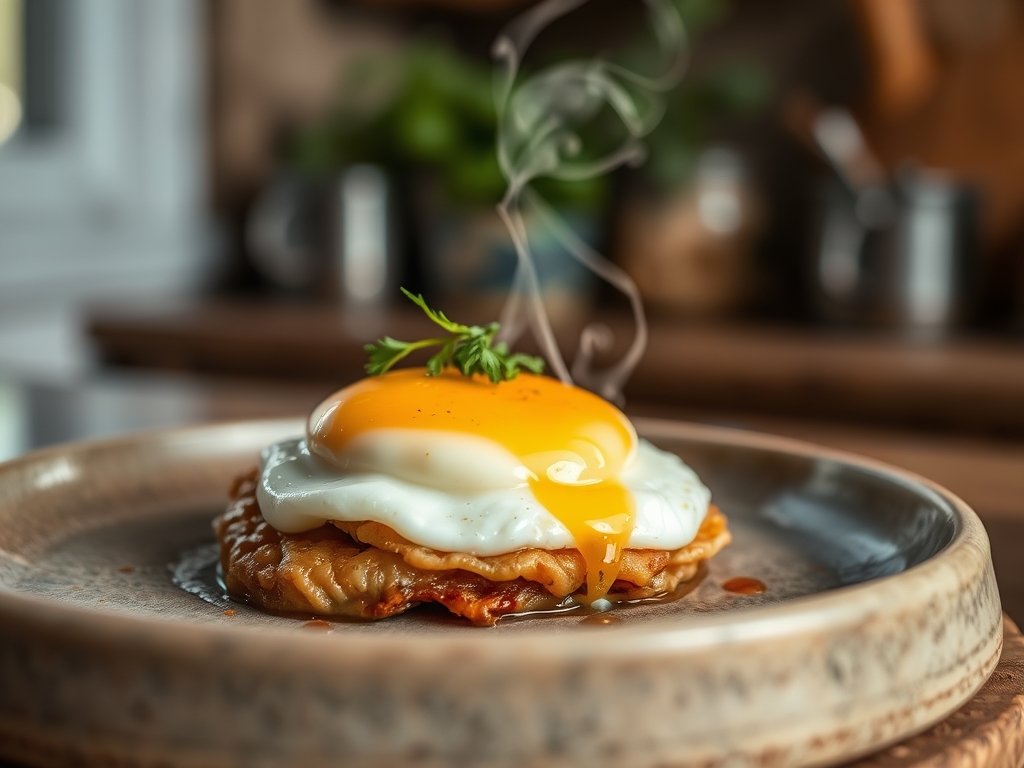
Looking at the Masterclass photo, you should see a distinct contrast between the toasted exterior and the snow-white interior. If your clouds look dull or grey, you likely under-seasoned the whites; salt helps highlight the natural brightness of the albumen. If you see uneven browning (leopard spotting), your oven has hot spots. Rotate the tray 180 degrees halfway through the first bake. If the yolk has a white film over it, you baked it too long or placed it too high in the oven. The yolk should look like a bright, translucent amber orb. If the "cloud" looks flat and wide rather than tall and fluffy, your folding technique was too aggressive, causing the air to escape before the heat could set the structure.
THE DEEP DIVE
Macro Nutrition Profile:
Each serving (2 eggs) provides approximately 160 calories, 14g of high-biological-value protein, 11g of fat, and less than 1g of carbohydrates. This makes it an elite-tier option for metabolic efficiency. The high protein-to-weight ratio ensures satiety without the caloric density of traditional bread-based breakfasts.
Dietary Swaps:
- Vegan: Replace egg whites with aquafaba (chickpea brine) whipped with cream of tartar. Use a "yolk" made of spherified nutritional yeast and turmeric oil.
- Keto: This dish is naturally keto-compliant. Increase the fat content by folding in finely diced pancetta that has been allowed to render until crispy.
- GF: Naturally gluten-free. Ensure your spices are certified to avoid cross-contamination.
Meal Prep & Reheating Science:
Cloud eggs are a "live" dish meant for immediate consumption. However, if you must reheat, do not use a microwave; the radiation will turn the delicate foam into a rubbery sponge. Instead, use an air fryer at 150C / 300F for 2 minutes to crisp the exterior while gently warming the core. This preserves the molecular lattice of the protein foam.
THE KITCHEN TABLE
Why did my egg whites turn into liquid after adding cheese?
You likely over-mixed or used cheese with too much moisture. The fat in the cheese can destabilize the protein bonds. Fold gently and use dry, aged cheeses like Parmesan or Pecorino to maintain the viscous foam.
Can I make the foam ahead of time?
No. The cellular structure of whipped egg whites is temporary. Surface tension and gravity will cause the air bubbles to pop, leading to a flat, rubbery result. Always whip and bake in one continuous sequence.
My yolks always break when I slide them in. Help!
The "drop" is a critical maneuver. Use a small ramekin for each yolk and hold it as close to the foam "well" as possible. This minimizes the kinetic energy upon impact, preserving the delicate yolk membrane.
How do I get that perfect golden color?
Ensure your oven is fully pre-heated to 230C. The high heat triggers the Maillard reaction on the surface of the proteins and the trace sugars in the cheese, creating that signature toasted aesthetic and infuse the dish with flavor.