Listen up, kitchen operatives. We are moving beyond the realm of soggy tortillas and lackluster protein. Today, we are conducting a structural audit of the ultimate Beef Enchilada Filling. This is not merely a recipe; it is a blueprint for culinary architecture. We are looking for a result that is deeply viscous, intensely piquant, and structurally sound enough to withstand the pressure of a heavy sauce saturation. The goal is a protein matrix that clings to the fork but melts on the palate. If your current filling resembles a dry, gray heap of disappointment, you have failed the first inspection. We require a deep mahogany hue, a rich fat-to-fiber ratio, and a flavor profile that resonates through every layer of the wrap. We are here to talk about the science of the render and the art of the infuse. Prepare to strip your process down to the studs and rebuild it with professional precision. Let us begin the tear-down.
THE DATA MATRIX
| Metric | Specification |
|---|---|
| Prep Time | 25 Minutes |
| Execution Time | 3 Hours (Slow Braise) |
| Yield | 8-10 Servings |
| Complexity | 6 / 10 |
| Estimated Cost per Serving | $2.45 USD |
THE GATHERS
Ingredient Protocol:
- 1.4 kg / 3 lbs Chuck Roast, trimmed and cubed.
- 45 ml / 3 tbsp Neutral High-Smoke Point Oil (Grapeseed or Avocado).
- 250 g / 2 cups Yellow Onion, finely diced.
- 40 g / 5 cloves Garlic, minced.
- 500 ml / 2 cups Beef Bone Broth, low sodium.
- 180 ml / 0.75 cup Tomato Paste, double concentrated.
- 30 g / 4 tbsp Chili Powder (Ancho or Guajillo blend).
- 10 g / 2 tsp Cumin Seeds, toasted and ground.
- 5 g / 1 tsp Dried Mexican Oregano.
- 15 ml / 1 tbsp Apple Cider Vinegar.
- To taste / Kosher Salt and Coarse Black Pepper.
Section A: Ingredient Quality Audit:
The primary failure point in a Beef Enchilada Filling is the cut of meat. If you select a lean round or sirloin, the lack of intramuscular connective tissue will result in a stringy, parched texture. You need the collagen found in chuck or brisket to transform into gelatin during the braise. If your spices are more than six months old, they have lost their volatile oils; toast them in a dry pan for 60 seconds to wake up the aromatics. If the tomato paste tastes metallic, it likely lacks the necessary sugar-to-acid balance. A pinch of brown sugar can neutralize this without compromising the savory profile.
THE MASTERCLASS
1. The Sear and Maillard Initiation
Pat the beef dry with paper towels to ensure maximum surface contact. Use a heavy-bottomed saucier or Dutch oven over high heat. Sear the beef in batches to avoid overcrowding, which causes steaming rather than browning. You are looking for a dark, crusty exterior.
Pro Tip: This browning is the Maillard reaction. It creates hundreds of flavor compounds that cannot be replicated by boiling. Use a digital scale to ensure your salt ratio is exactly 1% of the meat's weight for perfect seasoning penetration.
2. The Aromatic Foundation
Remove the beef and lower the heat. Add the onions to the rendered fat. Use a bench scraper or wooden spoon to deglaze the bottom of the pan, scraping up all the brown bits (fond). Once translucent, add the garlic and dry spices.
Pro Tip: Toasting the spices in fat (blooming) releases fat-soluble flavor compounds. This creates a more robust, layered taste that permeates the meat rather than sitting on top of it.
3. The Liquid Integration
Stir in the tomato paste and cook until it turns a rusty brick red. Gradually whisk in the beef broth and vinegar. Return the beef and any accumulated juices to the pot. The liquid should just barely cover the protein.
Pro Tip: The acidity in the vinegar acts as a chemical tenderizer, breaking down tough muscle fibers while balancing the richness of the fat. Use a silicone whisk to ensure the tomato paste is fully emulsified into the broth.
4. The Low and Slow Metamorphosis
Cover the pot with a tight-fitting lid and transfer to a 150C / 300F oven. Braise for 2.5 to 3 hours. The beef is finished when it yields to the slightest pressure from a fork.
Pro Tip: Maintaining a consistent internal temperature of 95C (203F) is the sweet spot where collagen fully converts to gelatin. Use a probe thermometer to monitor the liquid temperature without opening the lid and losing steam.
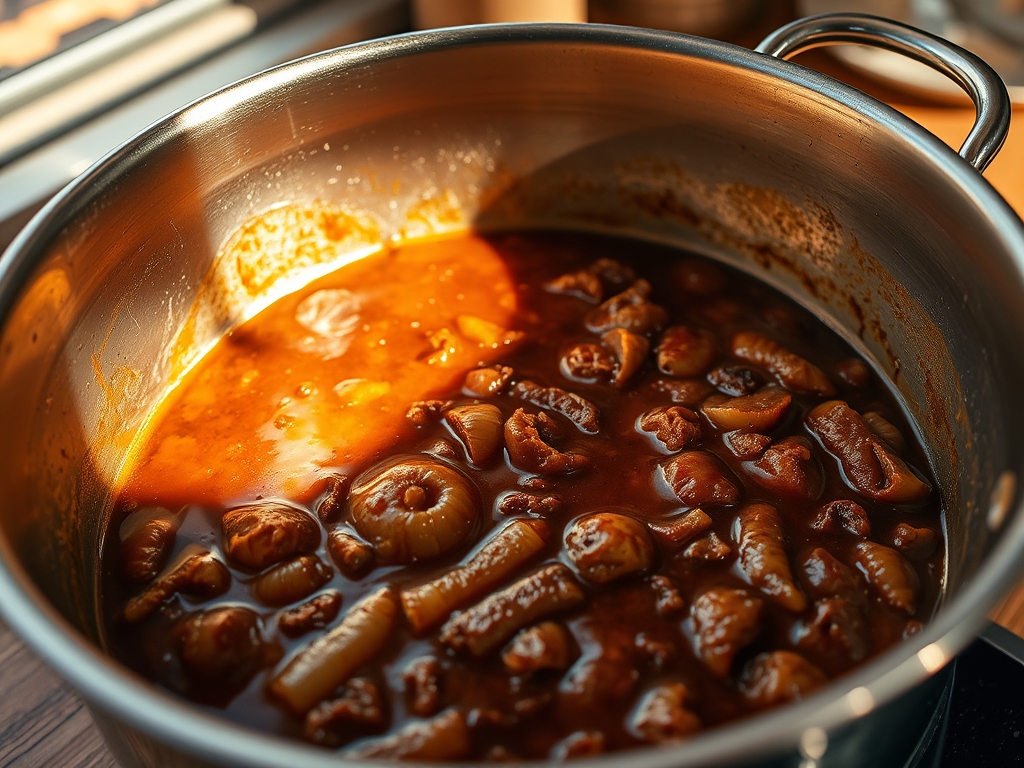
5. The Shred and Reduction
Remove the meat from the liquid. Use two forks or a stand mixer with a paddle attachment to shred the beef. Meanwhile, simmer the remaining liquid on the stovetop until it reduces by half, becoming a thick, viscous glaze. Fold the beef back into the sauce.
Pro Tip: Reducing the sauce concentrates the umami. If the sauce is too thin, it will leak out of the tortilla; if it is too thick, it will feel heavy. The goal is a "nappe" consistency that coats the back of a spoon.
Section B: Prep & Timing Fault-Lines:
The most common human error is rushing the braise. If you increase the heat to "cook it faster," the muscle fibers will contract and squeeze out all moisture, leaving you with dry meat in a wet sauce. Conversely, if you shred the meat while it is piping hot and let it sit uncovered, the steam will carry away all the internal moisture. Always allow the meat to rest in its own juices for at least 20 minutes before shredding to allow for re-absorption.
THE VISUAL SPECTRUM
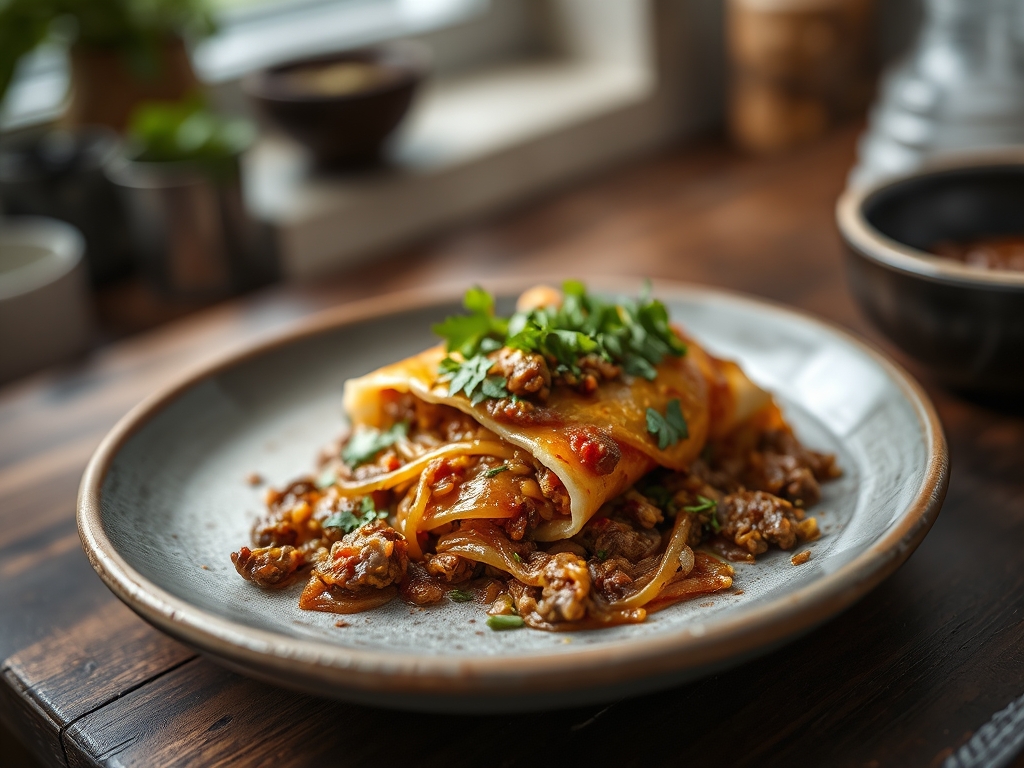
Section C: Thermal & Visual Troubleshooting:
Review the Masterclass photo. Note the deep, glossy sheen on the beef; this indicates a successful gelatin conversion and proper fat emulsification. If your filling looks dull or matte, you likely skimmed off too much fat or failed to reduce the sauce sufficiently. If the color is pale, you skimped on the tomato paste or the searing phase. Uneven browning usually stems from a crowded pan. If the texture looks "mushy" rather than "shredded," you have overcooked the meat to the point of structural collapse. Aim for distinct strands of beef that are thoroughly coated in a vibrant, reddish-brown glaze.
THE DEEP DIVE
Macro Nutrition Profile:
A standard 150g serving of this Beef Enchilada Filling provides approximately 320 calories, 28g of protein, 18g of fat, and 6g of carbohydrates. It is a high-protein powerhouse that anchors any meal.
Dietary Swaps:
- Vegan: Substitute the beef with pulled jackfruit or king oyster mushrooms. Use vegetable broth and add a dash of liquid smoke to mimic the charred beef flavor.
- Keto: This recipe is naturally keto-friendly. Ensure your tomato paste has no added sugars.
- GF: The recipe is naturally gluten-free; however, always verify that your beef broth and spices are certified GF to avoid cross-contamination.
Meal Prep & Reheating Science:
To maintain molecular structure, freeze the filling in vacuum-sealed bags. When reheating, do not use a microwave at full power, as this causes localized overheating and toughens the protein. Instead, reheat gently in a saucepan with a splash of water or broth to re-hydrate the gelatinous sauce.
THE KITCHEN TABLE
Can I use a slow cooker for this?
Yes, but you must sear the beef in a separate pan first. The slow cooker cannot reach the temperatures required for the Maillard reaction. Cook on "Low" for 6 to 8 hours for the best structural results.
Why is my sauce so greasy?
This happens if the fat does not emulsify. You can skim the excess fat from the top with a spoon or use a fat separator. Alternatively, whisk in a small amount of cold butter at the end to help stabilize the emulsion.
How do I make it spicier?
The current protocol focuses on depth. To increase the heat, add two finely diced chipotle peppers in adobo sauce during the aromatic phase. This adds both capsaicin heat and a smoky complexity that complements the beef.
How long does this stay fresh?
The high salt and acid content allow this filling to stay optimal for 4 days in the refrigerator. For longer storage, the freezer is your best friend. The flavor actually improves after 24 hours as the spices continue to infuse.