Listen up, starch enthusiasts. If you think a bagel is just a donut that went to finishing school, you are fundamentally mistaken. A real bagel is a masterpiece of structural engineering, defined entirely by its exterior shell. We are talking about a specific, localized gelatinization of surface starches that occurs only when high-protein dough meets a turbulent, alkaline bath. This is the core of Bagel Boiling Tech. Without this step, you are merely baking a circular roll. The boil is where the magic happens; it is where the malt-infused water interacts with the gluten network to create that signature tug-of-war chew. We are looking for a crust that is glossy, blistered, and resilient. It should shatter slightly under the tooth before yielding to a dense, tight crumb. This is not a fluffy brioche moment. This is a high-stakes thermal event where seconds determine the difference between a professional-grade specimen and a soggy, over-proofed disappointment. Strap in; we are auditing the very foundation of boiled bread.
THE DATA MATRIX
| Metric | Specification |
|---|---|
| Prep Time | 24 Hours (Cold Ferment) |
| Execution Time | 45 Minutes |
| Yield | 12 Bagels |
| Complexity (1-10) | 8 |
| Estimated Cost per Serving | $0.45 |
THE GATHERS
Ingredient Protocol:
- High-Gluten Flour (14% protein): 1000g / 8 cups
- Filtered Water (Room Temp): 550ml / 2.25 cups
- Barley Malt Syrup: 40g / 2 tablespoons
- Fine Sea Salt: 20g / 1.2 tablespoons
- Instant Yeast: 7g / 2.25 teaspoons
- Boiling Bath: 4 Liters / 1.05 gallons water
- Alkaline Agent: 30g / 2 tablespoons Honey or Malt Syrup
- Baking Soda (Optional for Maillard boost): 5g / 1 teaspoon
Section A: Ingredient Quality Audit:
If your dough feels viscous or sticky rather than firm and elastic, your flour lacks the necessary protein payload. Standard all-purpose flour will fail here; you need the structural integrity of high-gluten bread flour to withstand the boiling process without collapsing. If your yeast is dormant, the dough will not aerate properly during the cold ferment, resulting in a leaden puck. Test your yeast in warm water first. If the water for your boil is too soft, the crust will lack that distinctive "snap." A pinch of salt in the boiling water can help tighten the gluten structure on the surface. Finally, do not substitute sugar for barley malt syrup if you want that authentic, deep, infused cereal flavor. Malt provides the specific sugars necessary for a complex Maillard reaction.
THE MASTERCLASS
1. The Precision Mix and Hydration
Start by weighing your dry ingredients on a digital scale. Combine the flour, yeast, and salt, then slowly incorporate the water and malt syrup. The dough should be stiff; this is a low-hydration recipe (around 55 percent). Use a heavy-duty stand mixer or your hands to work the dough until it is smooth and passes the windowpane test.
Pro Tip: Use a bench scraper to manage the stiff dough on your work surface. A dry, firm dough is essential for Bagel Boiling Tech because it prevents the bagels from deforming when you handle them after the boil.
2. The Cold Ferment Protocol
Divide the dough into 100g portions and shape them into tight spheres. Poke a hole through the center and stretch gently. Place these on a lined tray, cover tightly, and refrigerate for 12 to 24 hours. This cold retard allows enzymes to break down starches into simple sugars, which will later render a superior crust color and flavor profile.
Pro Tip: A long cold ferment is the secret to those tiny surface blisters. This process allows carbon dioxide to dissolve into the surface moisture, which expands rapidly when it hits the oven heat.
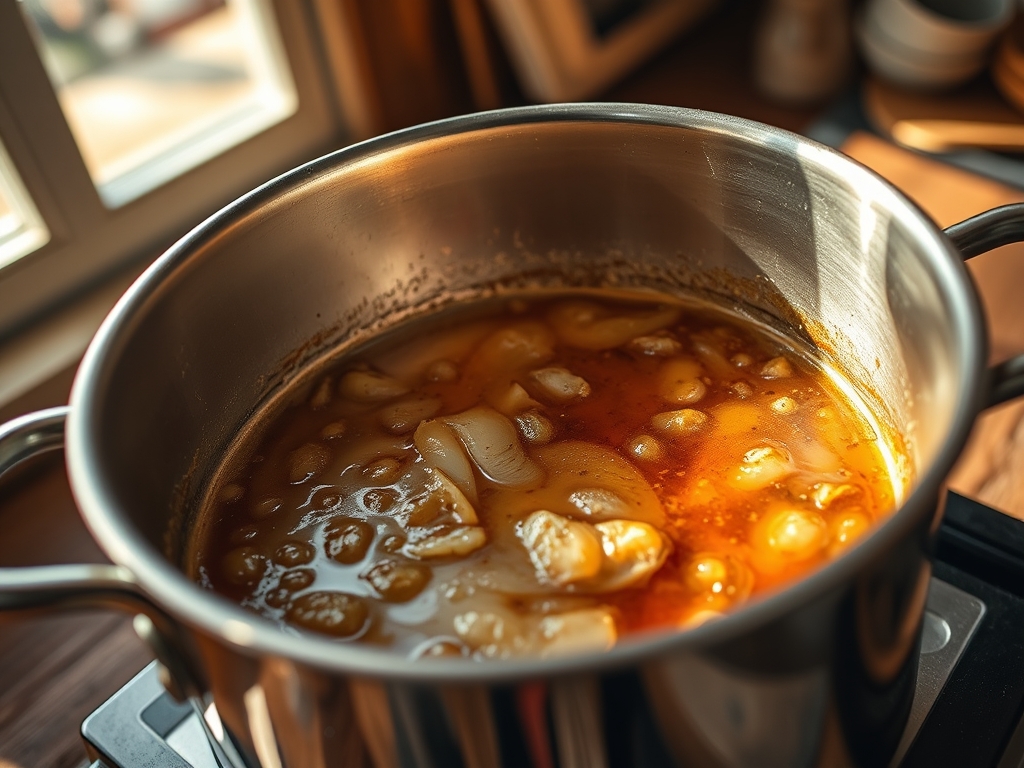
3. The Alkaline Bath Execution
Bring your water, malt syrup, and baking soda to a rolling boil in a wide saucier or stockpot. Carefully drop the cold bagels into the water. They should float within seconds. Boil for 45 to 60 seconds per side. The longer the boil, the thicker and chewier the crust will be.
Pro Tip: Use a slotted spoon or a wire spider to flip the bagels. The alkaline environment of the water partially gelatinizes the surface starch, creating a barrier that prevents the bagel from rising too much in the oven, ensuring a dense interior.
4. The Seed Application and Seeding
Immediately after removing the bagels from the water, place them on a cooling rack for 30 seconds to drain, then dip them into your toppings. The residual moisture and gelatinized starch act as a natural adhesive. Transfer them to a baking stone or a preheated heavy baking sheet.
Pro Tip: Do not wait for the bagels to dry completely before seeding. The "tackiness" of the starch is fleeting. Professional bakers often use a perforated baking tray to ensure maximum airflow around the base.
5. The Thermal Transformation
Bake at 425 degrees Fahrenheit (218 Celsius) for 15 to 18 minutes. You are looking for a deep, mahogany brown. The smell should be toasted and slightly sweet as the malt sugars infuse the air. Rotate the tray halfway through to ensure an even bake across the entire batch.
Pro Tip: If you have a steam-injection oven, use it for the first 5 minutes. If not, a cast iron pan with a few ice cubes at the bottom of the oven will create a steam burst that keeps the crust flexible during its final expansion.
Section B: Prep & Timing Fault-Lines:
The biggest human error in Bagel Boiling Tech is over-proofing. If your bagels are too puffy before they hit the water, they will deflate like a popped balloon. They should feel cold and firm when they enter the pot. Another common failure is the water temperature. If the water is not at a true rolling boil, the starch won't gelatinize fast enough, and the bagel will absorb water, becoming waterlogged and gummy. Use an infrared thermometer to ensure your water stays between 210 and 212 degrees Fahrenheit throughout the entire batch processing.
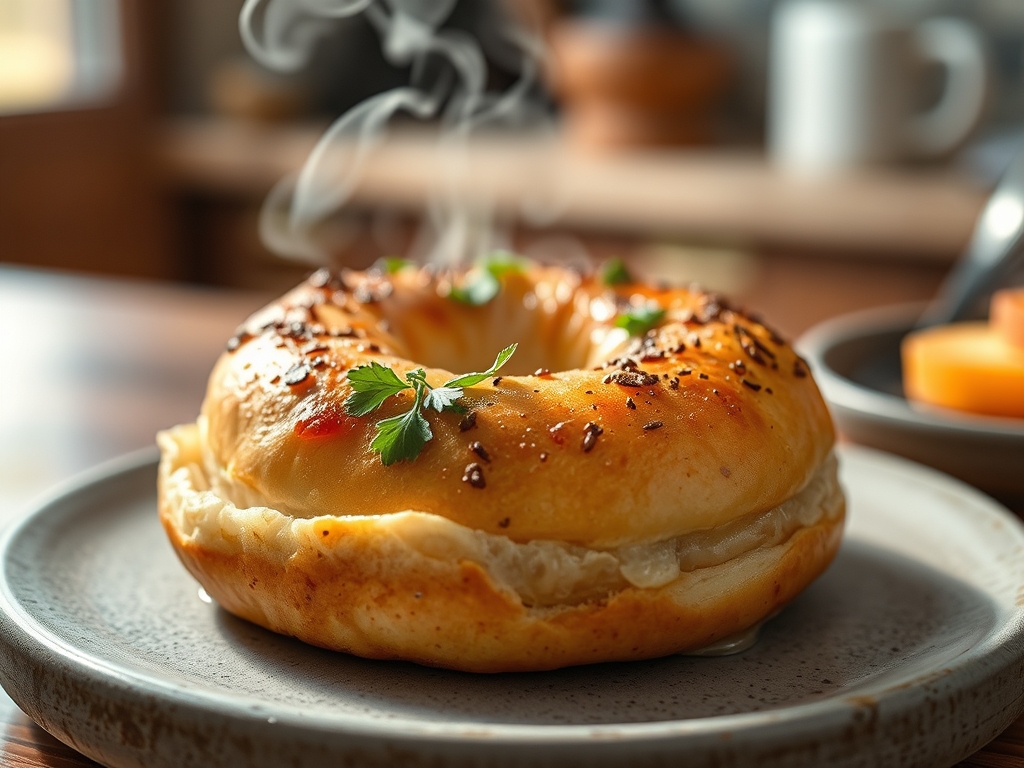
THE VISUAL SPECTRUM
Section C: Thermal & Visual Troubleshooting:
Referencing the Masterclass photo, notice the high-gloss sheen and the micro-blistering on the surface. If your bagels look dull or matte, you likely skipped the malt syrup in the boil or didn't boil them long enough. If the bagels are pale on the bottom, your baking surface wasn't hot enough; use a pizza stone to ensure bottom-up heat transfer. Uneven browning usually points to poor airflow in the oven. If the holes have closed up entirely, you didn't stretch them wide enough during the shaping phase. The "look" of a perfect bagel is defined by a taut, shiny skin that looks almost like polished wood.
THE DEEP DIVE
Macro Nutrition Profile
A standard 100g bagel provides approximately 280 calories, 55g of carbohydrates, 11g of protein, and 2g of fat. Because of the boiling process and high-protein flour, bagels have a lower glycemic index than white bread, providing more sustained energy.
Dietary Swaps
- Vegan: This recipe is naturally vegan as long as you use malt syrup or agave instead of honey in the boil.
- Keto: Replace flour with a mix of vital wheat gluten, almond flour, and oat fiber. Note that the boiling tech will yield different results without traditional starches.
- GF: Use a high-quality 1-to-1 gluten-free blend with added xanthan gum. The boil time should be reduced to 30 seconds to prevent structural collapse.
Meal Prep & Reheating Science
To maintain the molecular structure, never refrigerate a finished bagel; it accelerates staling via starch retrogradation. Freeze them in airtight bags. When reheating, a quick steam followed by a toast will re-gelatinize the starches, restoring that "just-boiled" texture.
THE KITCHEN TABLE
Why are my bagels flat after boiling?
This is usually caused by over-proofing. If the yeast has exhausted its fuel during the ferment, the structure collapses when hit by the heat of the water. Shorten your room-temperature proofing time before the cold retard.
Can I skip the barley malt syrup?
You can use honey or brown sugar, but you will lose the iconic "New York" flavor profile. Malt syrup provides a specific enzyme activity and a deep, toasted flavor that other sugars cannot replicate.
How do I get more blisters on the crust?
Extend your cold ferment to 48 hours. The slow accumulation of carbon dioxide under the skin is what creates those beautiful, crunchy micro-bubbles during the boiling and baking process.
Why is the crust too soft?
A soft crust usually means the boil was too short or the oven temperature was too low. Ensure a full 60-second boil per side and a hot 425-degree oven to properly dehydrate and crisp the exterior.