Listen to the sound of a kitchen operating at peak efficiency. It is not the sound of chaos; it is the rhythmic sizzle of proteins hitting a preheated cast iron surface. We are moving beyond the humble scrambled egg and entering the realm of structural engineering. To master the frittata is to master the concept of Frittata Heat Mapping. This is the precise management of vertical thermal gradients where the bottom crust achieves a golden, rendered crunch while the center remains a viscous, custard-like dream. If you treat your skillet like a blunt instrument, you will end up with a rubbery disc of disappointment. If you treat it like a thermal conductor, you create a masterpiece of emulsified fats and suspended solids. We are looking for that perfect moment where the eggs transition from liquid to a delicate solid without losing their moisture. This is high-stakes breakfast infrastructure. Grab your digital scale and your sharpest knife; we are about to audit your skillet technique from the ground up.
THE DATA MATRIX
| Metric | Specification |
|---|---|
| Prep Time | 15 Minutes |
| Execution Time | 20 Minutes |
| Yield | 4 Servings |
| Complexity (1-10) | 4 |
| Estimated Cost per Serving | $2.25 USD |
THE GATHERS
Ingredient Protocol:
- 8 Large Pasture-Raised Eggs (approx. 400g)
- 60ml / 0.25 cup Heavy Cream (minimum 36% milkfat)
- 100g / 1 cup Sharp Gruyere, freshly grated
- 150g / 1.5 cups Baby Spinach, stems removed
- 115g / 4 oz Pancetta, small dice
- 1 Medium Shallot (approx. 40g), finely minced
- 2g / 0.5 tsp Kosher Salt
- 1g / 0.25 tsp Freshly Cracked Black Pepper
- 15ml / 1 tbsp Extra Virgin Olive Oil
Section A: Ingredient Quality Audit:
The primary failure point in frittata construction is moisture management. If your vegetables are too "wet," the water will leach out during the bake, creating a weeping, porous structure. If using frozen spinach, you must squeeze it within a lint-free kitchen towel until it is bone dry. For the eggs, avoid the supermarket "bottom shelf" options. You need high-viscosity yolks for a rich mouthfeel. If your eggs appear watery, whisk in an extra yolk to boost the lecithin content; this ensures a more stable emulsion when you introduce the heavy cream. Finally, never use pre-shredded cheese. The cellulose coating used to prevent clumping interferes with the melt-profile, resulting in a grainy texture rather than a smooth, integrated pull.
THE MASTERCLASS
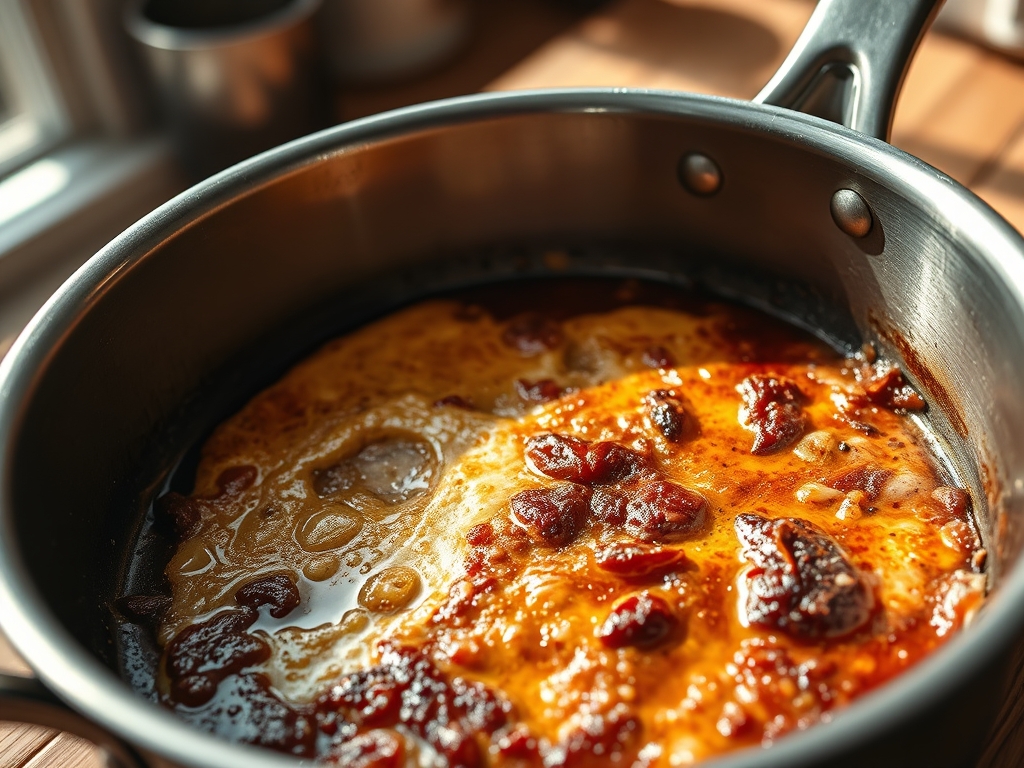
1. The Protein Rendering Phase
Place your pancetta in a cold 10-inch oven-safe skillet or saucier. Turn the heat to medium. By starting cold, you render the fat slowly, ensuring the meat becomes crispy without burning the exterior. Once the fat has pooled, use a bench scraper to clear a space for the shallots. Sauté until translucent.
Pro Tip: This stage builds the foundation of the Frittata Heat Mapping. The residual fat acts as a thermal buffer between the egg proteins and the metal, preventing sticking while providing flavor.
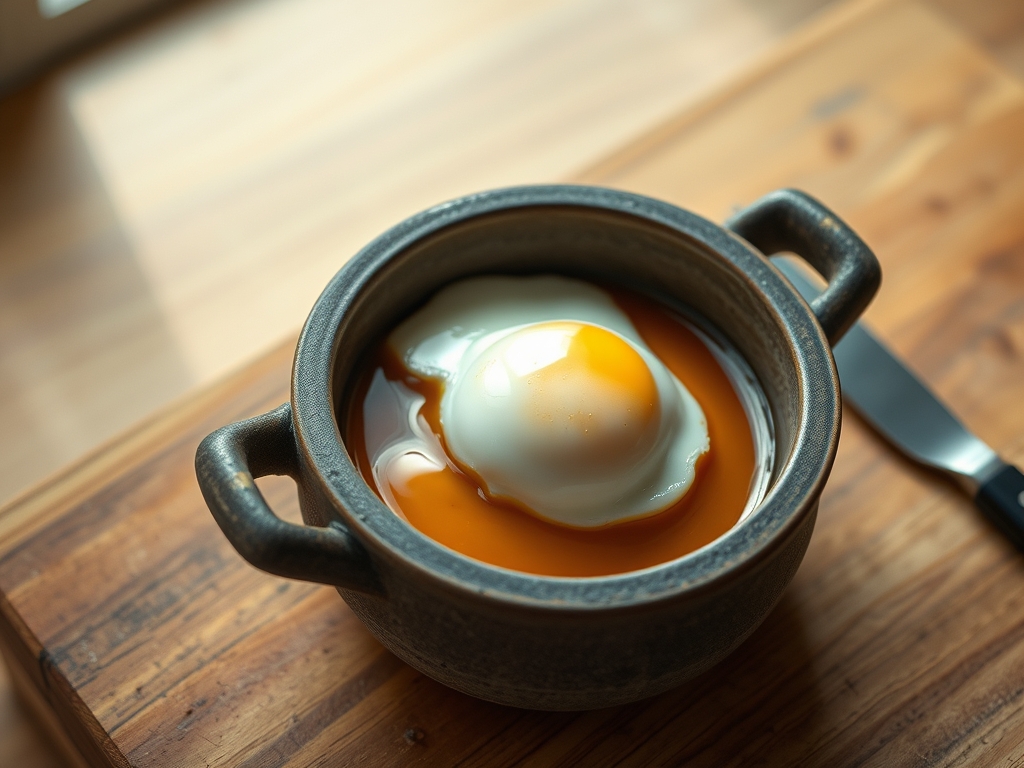
2. The Aeration Protocol
In a large stainless steel bowl, crack your eggs and add the cream, salt, and pepper. Use a whisk to aerate the mixture until no streaks of white remain. Do not over-beat; you want to incorporate air for lift, but excessive bubbles will lead to a collapsed "soufflé" effect once the dish cools. Use a digital scale to ensure your ratios are exact.
Pro Tip: Salt acts as a protein denaturant. By salting the eggs ten minutes before they hit the pan, you weaken the protein bonds, resulting in a more tender curd that can withstand higher temperatures.
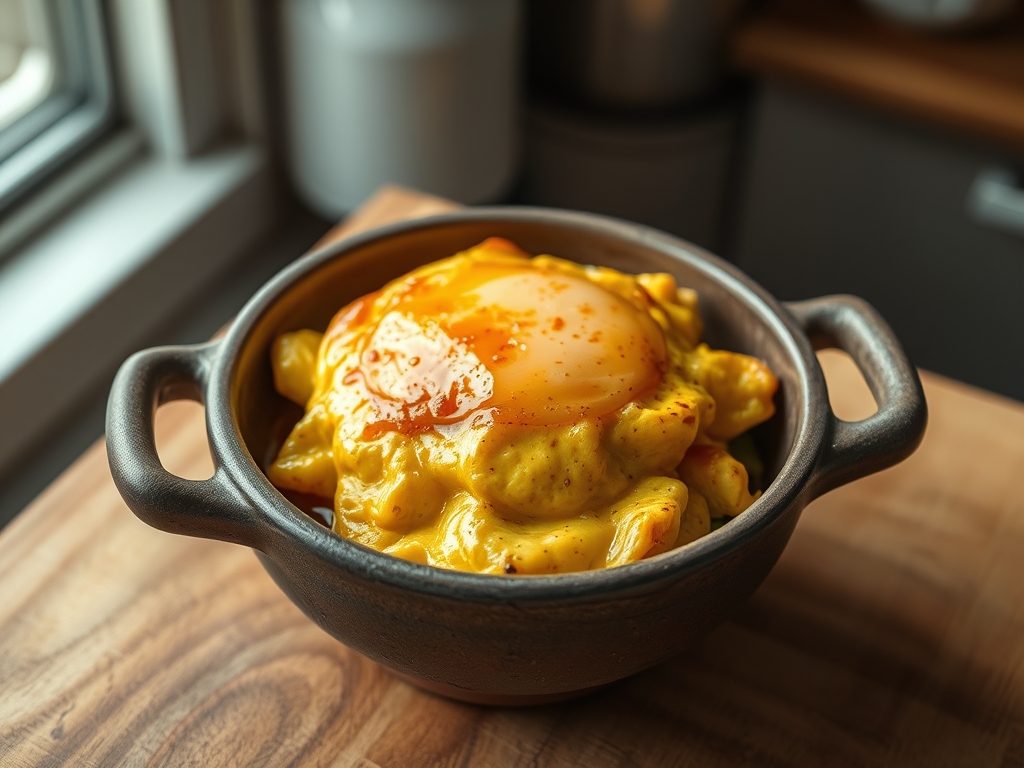
3. The Vertical Gradient Set
Turn the stovetop heat to medium-low. Pour the egg mixture over the sautéed aromatics. Use a silicone spatula to gently pull the cooked edges toward the center, allowing the raw liquid to flow underneath. This creates the "vertical gradient" where the base begins to firm up while the top remains fluid. Sprinkle the cheese and spinach evenly across the surface.
Pro Tip: Using a heavy-bottomed skillet ensures even heat distribution. If you notice "hot spots" where the egg is browning too fast, move the pan off-center to recalibrate the thermal flow.
4. The Thermal Transition
Transfer the skillet to a preheated oven at 175C / 350F. The goal here is "ambient finishing." The stovetop provided the bottom crust; the oven provides the gentle, surrounding heat needed to set the top without drying it out. Bake for 8 to 12 minutes. The center should have a slight jiggle when the pan is shaken.
Pro Tip: Use an infrared thermometer to check the surface temperature. You are looking for a finish at approximately 71C / 160F. This is the "sweet spot" for egg coagulation.
5. The Rest and Release
Remove the pan from the oven and let it sit for five minutes. This allows the internal steam to redistribute, loosening the frittata from the edges of the pan. Use a thin offset spatula to slide around the perimeter before sliding the entire disc onto a cutting board.
Pro Tip: Residual heat will continue to cook the interior. Pulling the dish when it looks "90% done" is the secret to a professional, creamy texture.
Section B: Prep & Timing Fault-Lines:
The most common human error is the "Oven Neglect." Because the frittata is tucked away, it is easy to forget the rapid rate of protein tightening. If you miss the window by even two minutes, the eggs will expel their moisture, leaving a pool of liquid on the plate and a rubbery texture. Set a secondary timer. Another fault-line is the "Cold Add-In" error. If you add cold vegetables directly from the fridge into the eggs, you create thermal "pockets" that cook slower than the rest of the mass. Always ensure your fillings are at room temperature or warm from the sauté before the eggs hit the pan.
THE VISUAL SPECTRUM
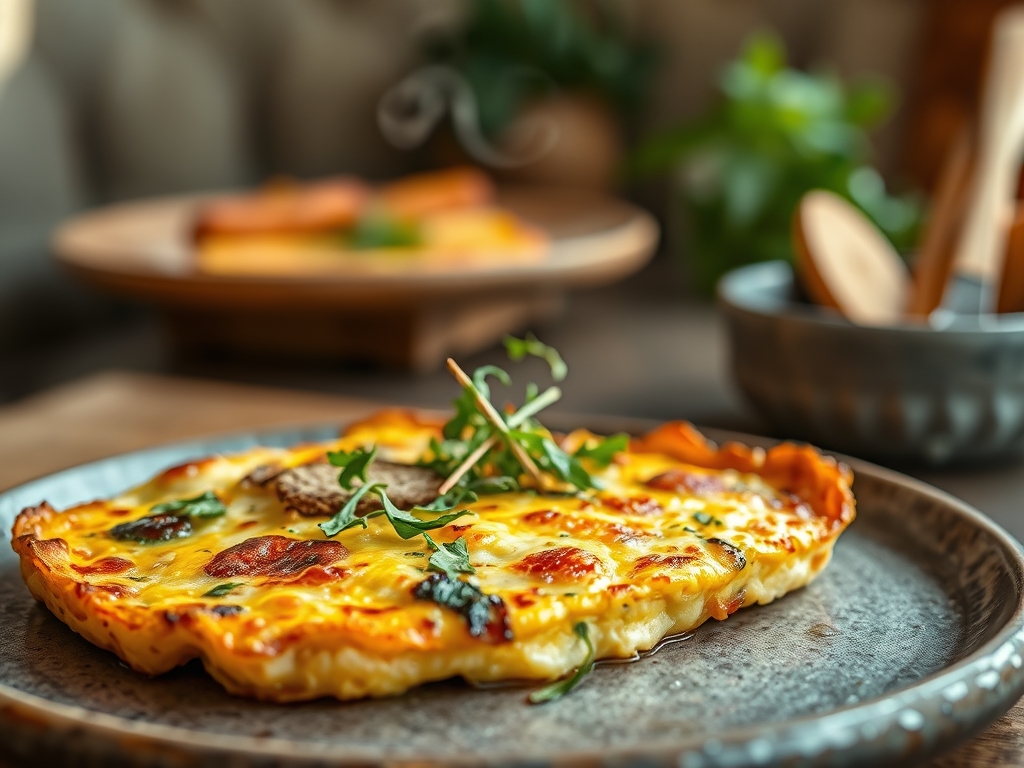
Section C: Thermal & Visual Troubleshooting:
Referencing our Masterclass photo, look for the "Golden Halo" around the edges. This indicates successful Maillard browning and a crisp exterior. If your frittata looks pale and "sweaty," your pan wasn't hot enough during the initial pour. If the top is brown but the center is liquid, your oven temperature was too high; lower the rack position for the next attempt. Dull, greyish greens in the spinach mean it was overcooked; try folding the greens in at the very last second before the oven transition to maintain that vibrant chlorophyll pop. A "puffed" look that immediately collapses indicates too much air was whisked in; aim for a denser, more custard-like appearance.
THE DEEP DIVE
Macro Nutrition Profile
A single serving provides approximately 320 calories, 24g of fat, 18g of protein, and 4g of carbohydrates. This is a high-density fuel source designed for sustained cognitive and physical output. The high choline content in the egg yolks supports neurological health.
Dietary Swaps
- Vegan: Replace eggs with a blended silken tofu and chickpea flour base (2:1 ratio). Use nutritional yeast for the piquant cheesy flavor.
- Keto: This recipe is naturally keto-compliant. Increase the pancetta to boost the fat-to-protein ratio.
- GF: Naturally gluten-free. Ensure your pancetta is not processed with grain-based fillers.
Meal Prep & Reheating Science
To maintain the molecular structure when reheating, avoid the microwave. High-frequency radiation agitates water molecules too violently, toughening the egg proteins. Instead, use a toaster oven at 150C / 300F for 5 minutes. This gently revives the fats without over-coagulating the proteins.
THE KITCHEN TABLE
Why is my frittata flat and dense?
You likely skipped the aeration phase or used too little fat. Ensure you whisk the eggs until frothy and use heavy cream to provide the necessary lipid structure for lift.
Can I use a glass baking dish?
Glass is a poor thermal conductor compared to cast iron. It takes longer to heat up and longer to cool down, making Frittata Heat Mapping nearly impossible to control. Stick to metal.
How do I stop the bottom from burning?
Turn down your stovetop heat. The initial "set" should happen on medium-low. If the bottom is dark before the top goes in the oven, your initial thermal input was too aggressive.
What is the best cheese for melting?
High-moisture, aged cheeses like Gruyere, Fontina, or Sharp Cheddar work best. Avoid dry, crumbly cheeses like Cotija or aged Parmesan as the primary melting agent; use them only as a garnish.