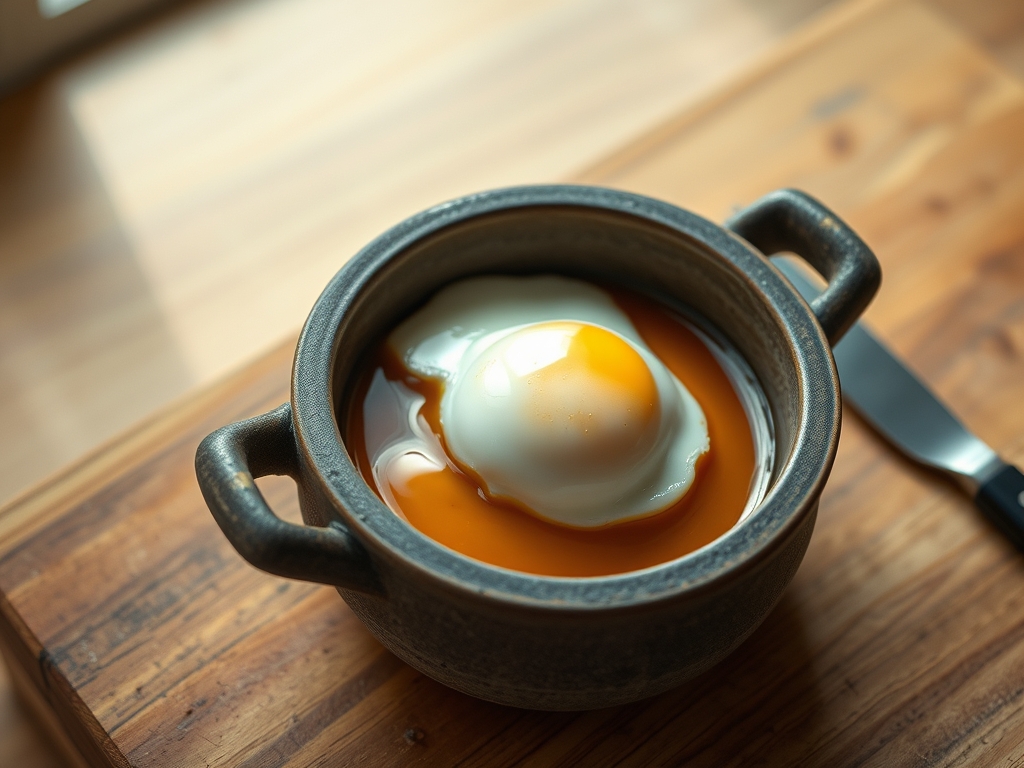
Forget everything you know about breakfast. This is not a scramble; it is a structural engineering project involving the delicate thermal setting of albumin. We are hunting for The Perfect Omelet. Imagine a pale gold, almond-shaped cylinder with a surface as smooth as polished marble. There is no browning. There are no bubbles. When you pierce the outer membrane, the interior should spill out like a viscous, custardy silk. This is the ultimate test of a chef's temperature control and agitation speed. We are managing a phase transition from liquid protein to a delicate solid in under sixty seconds. If you fail, you have rubbery eggs; if you succeed, you have a masterpiece of French technique. We are looking for that specific point where the proteins have bonded enough to hold shape but remain hydrated enough to melt on the tongue. Grab your carbon steel pan and calibrate your sensors. We are going in for a high-intensity audit of the most iconic egg dish in the culinary canon.
THE DATA MATRIX
| Metric | Specification |
|---|---|
| Prep Time | 5 Minutes |
| Execution Time | 60 Seconds |
| Yield | 1 Serving |
| Complexity | 9/10 |
| Estimated Cost per Serving | $1.25 |
THE GATHERS
Ingredient Protocol:
- 3 Large Eggs (150g / 0.63 cups)
- Unsalted High-Fat Butter (15g / 1 tbsp)
- Fine Sea Salt (1.5g / 0.25 tsp)
- Chives, finely minced (5g / 1 tbsp)
- White Pepper (0.5g / 0.12 tsp)
Section A: Ingredient Quality Audit:
The primary failure point in The Perfect Omelet is the age of the albumin. As eggs age, the thick white thins into a watery liquid. This creates a "weeping" effect where the omelet leaks moisture onto the plate. To troubleshoot sub-par raw materials, perform a float test. If the egg stands upright, the air cell is too large; use it for baking instead. If you are forced to use older eggs, pass them through a fine-mesh sieve to remove the watery outer white. Furthermore, ensure your butter is European-style with at least 82% butterfat. Lower-quality butter contains too much water, which will steam the eggs rather than lubricating the pan, leading to sticking and structural collapse.
THE MASTERCLASS
1. The Homogenization Phase
Crack your eggs into a stainless steel bowl placed on a digital scale to ensure precise ratios. Use a fork or a small whisk to break the yolks and combine them with the whites until the mixture is perfectly uniform. Do not aerate the mixture; you are looking for a flat, liquid consistency without foam. Add your salt now to allow the proteins to begin denaturing.
Pro Tip: Salting the eggs ten minutes before cooking acts as a buffer. It prevents the proteins from bonding too tightly when they hit the heat, resulting in a more tender curd.
2. Thermal Priming
Place an 8-inch non-stick or seasoned carbon steel pan over medium-high heat. Add the butter. You are looking for the "sizzle point" where the water in the butter evaporates but the solids do not yet brown. The butter should foam aggressively. Swirl it to coat the entire surface of the pan, including the sides.
Pro Tip: Use an infrared thermometer to verify the pan surface is exactly 300 degrees Fahrenheit. This ensures the eggs set instantly without seizing.
3. High-Frequency Agitation
Pour the eggs into the center of the pan. Immediately begin stirring in a circular motion with a heat-resistant silicone spatula while simultaneously shaking the pan back and forth. This creates a "small curd" texture similar to scrambled eggs. You are essentially creating a viscous emulsion of fat and protein.
Pro Tip: Professional chefs use a saucier technique here. The constant motion prevents any single part of the egg from staying in contact with the heat long enough to brown.
4. The Structural Set
When the eggs are 75% cooked and look like wet curds, stop stirring. Use your spatula to smooth the eggs into an even layer across the pan. Let it sit for five seconds to form a thin, structural skin on the bottom. The top should still look undercooked and custardy.
Pro Tip: If the edges look dry, use a bench scraper to gently tuck them in. This ensures the final roll is clean and free of "lacey" burnt edges.
5. The Fold and Roll
Tilt the pan away from you. Use the spatula to fold the edge closest to the handle toward the center. Then, use a series of sharp taps on the handle with your fist to coax the omelet to roll over itself toward the far edge of the pan. The goal is a perfect cigar shape with the seam hidden.
Pro Tip: The physics of the "handle tap" uses kinetic energy to flip the delicate protein mass without the need for clumsy flipping tools.
6. The Glaze and Garnish
Invert the omelet onto a warmed plate. It should be seamless and smooth. Rub a cold knob of butter over the top to create a mirror-like sheen. Sprinkle with finely minced chives for a piquant finish.
Pro Tip: A warm plate is non-negotiable. Cold ceramic will cause the delicate internal custard to seize and lose its creamy texture within seconds.
Section B: Prep & Timing Fault-Lines:
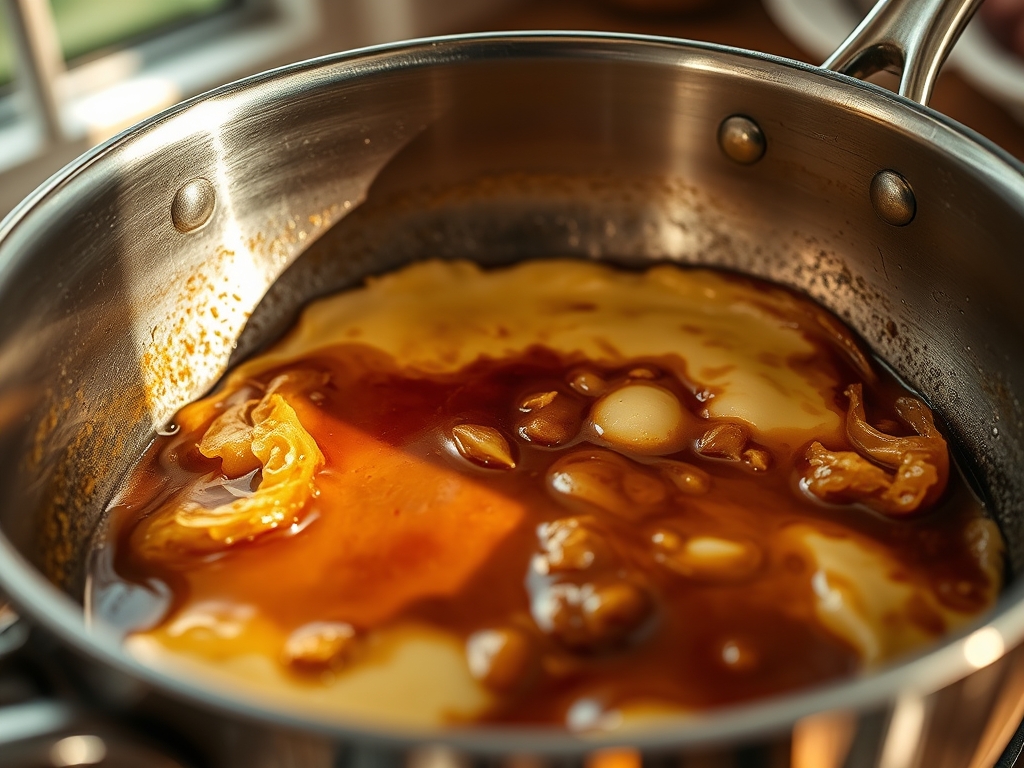
The most common human error is "The Hesitation." If you stop stirring for even three seconds during the agitation phase, the eggs will develop a fried texture. If your heat is too low, the eggs will stick to the pan regardless of the coating. If it is too high, they will brown before you can finish the roll. You must maintain a high-energy "shiver" of the pan throughout the entire sixty-second window. If you see steam rising aggressively, pull the pan off the heat for three seconds to recalibrate the thermal load.
THE VISUAL SPECTRUM
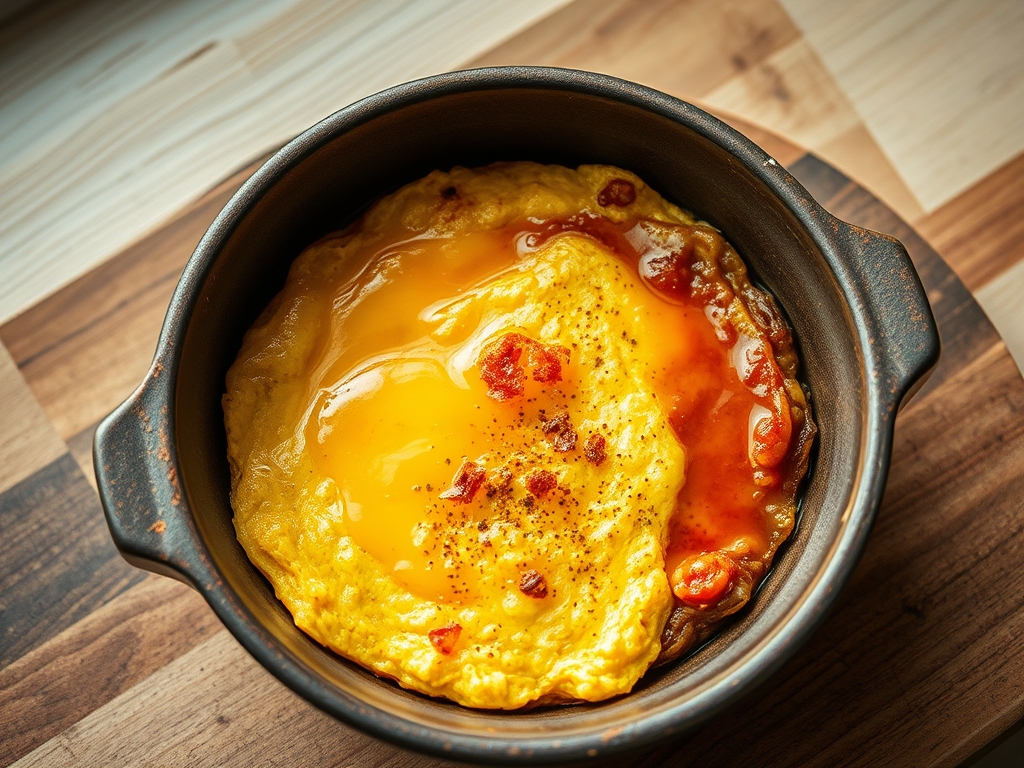
Section C: Thermal & Visual Troubleshooting:
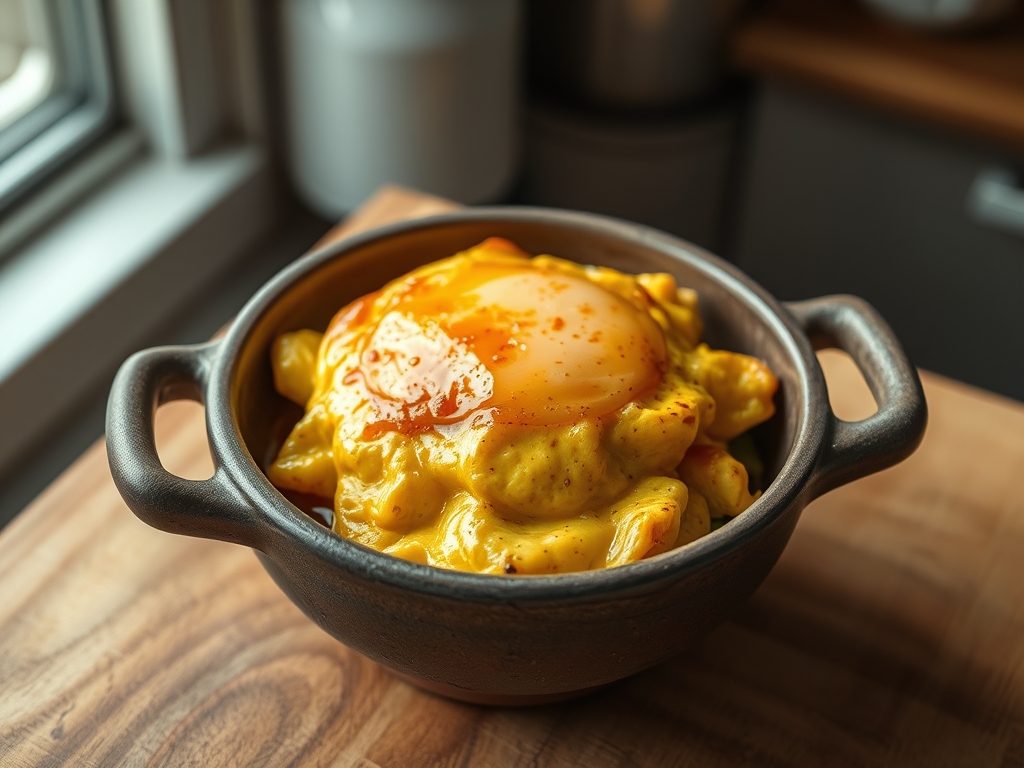
Look at the Masterclass photo. Notice the lack of "freckles" or brown spots. If your omelet looks like a leopard, your heat was too high or your butter was over-rendered. If the omelet looks dull and matte, you skipped the final butter glaze or overcooked the exterior skin. If the shape is lumpy rather than a smooth cylinder, your agitation was inconsistent; you left large curds instead of creating a fine, uniform matrix. The Perfect Omelet should have a slight "jiggle" when the plate is moved, indicating the center is still in a semi-liquid state. If it is rigid, you have created a yellow log of rubber.
THE DEEP DIVE
Macro Nutrition Profile
A standard three-egg French omelet provides approximately 21g of high-bioavailability protein, 18g of fat (largely determined by your butter choice), and less than 2g of carbohydrates. It is a nutrient-dense powerhouse rich in choline and lutein.
Dietary Swaps
- Vegan: Use a mung-bean-based egg substitute. Note that the thermal setting properties differ; you will need more oil and a slightly lower temperature to prevent sticking.
- Keto: This dish is naturally keto-compliant. Increase the butter or add a tablespoon of heavy cream to the egg mixture to boost the fat-to-protein ratio.
- Gluten-Free: Naturally GF. Ensure your chives are fresh and not processed in a facility with grain dust.
Meal Prep & Reheating Science
The French omelet does not reheat well. The molecular structure of the delicate curd is destroyed by microwave radiation, which causes the proteins to tighten and expel water. If you must reheat, use a gentle water bath (sous-vide) at 140 degrees Fahrenheit to soften the fats without further denaturing the proteins.
THE KITCHEN TABLE
Why is my omelet gray?
This is usually caused by overcooking or using an aluminum pan. The reaction between sulfur in the whites and the metal (or high heat) creates iron sulfide. Stick to carbon steel or high-quality non-stick surfaces.
Can I add cheese?
Yes, but it must be finely grated and added right before the fold. Large chunks of cheese will disrupt the structural integrity of the protein skin and cause the omelet to tear during the rolling process.
Why does my omelet stick to a non-stick pan?
Even non-stick pans have microscopic pores. If you don't use enough fat (butter) or if you add the eggs to a cold pan, the proteins will bond to those pores. Always "prime" the pan with heat first.
How do I get the perfect almond shape?
It is all in the wrist. Use the curve of the pan's edge to mold the omelet as you roll it. The final "taps" on the handle are what force the egg to climb the wall and tuck under.