Stop settling for the sulfurous, rubbery catastrophes that haunt continental breakfast buffets and sad office refrigerators. We are here to perform a high-stakes forensic audit on the humble Hard Boiled Eggs. This is not a casual simmer; it is a thermal intervention designed to transform a gelatinous orb into a masterpiece of creamy, golden infrastructure. When you crack that shell, you should not be greeted by a sickly green ring of iron sulfide. You should encounter a yolk that is perfectly set yet remains velvety, encased in a white that is tender rather than reminiscent of industrial gaskets. We are manipulating the delicate balance of protein coagulation and thermal kinetics. Every second the egg spends in the agitated water column matters. We are seeking the sweet spot where the proteins have bonded enough to hold their shape but haven't yet begun to wring out their internal moisture like a panicked sponge. It is time to treat your breakfast with the technical respect it deserves.
THE DATA MATRIX
| Metric | Specification |
|---|---|
| Prep Time | 2 Minutes |
| Execution Time | 12 Minutes |
| Yield | 6 Servings |
| Complexity (1-10) | 3 |
| Estimated Cost per Serving | $0.45 |
THE GATHERS
Ingredient Protocol:
- 6 Large Pasture-Raised Eggs (approx. 340g / 12 oz)
- 2 Liters / 8.5 cups Filtered Water
- 15ml / 1 tbsp White Distilled Vinegar (Optional for shell integrity)
- 500g / 4 cups Ice Cubes (For the thermal shock bath)
Section A: Ingredient Quality Audit:
The primary failure point in any egg-based operation is the age of the raw material. Fresh eggs possess a lower pH level, which causes the albumen to adhere aggressively to the inner shell membrane. If your eggs are farm-fresh, you will face a peeling nightmare. The technical fix is to "age" your eggs in the refrigerator for seven to ten days before boiling; this allows the pH to rise and the protective membrane to loosen. If you are forced to use ultra-fresh eggs, add 5g of baking soda to the water. This alkaline boost artificially raises the pH and encourages the membrane to detach. Furthermore, ensure your eggs are at room temperature before they hit the heat to prevent thermal shock cracking.
THE MASTERCLASS
1. The Thermal Foundation
Fill a heavy-bottomed saucier with enough filtered water to submerge the eggs by at least two centimeters. Bring the liquid to a rolling boil over high heat. Using a digital scale, ensure you have your ice bath ready and calibrated.
Pro Tip: Using a saucier rather than a thin-walled pot provides better heat retention and a curved base that prevents the eggs from rattling violently against sharp corners, which reduces the risk of structural fractures during the initial plunge.
2. The Controlled Descent
Lower the heat to a simmer to prevent the eggs from bouncing. Use a slotted spoon or a wire skimmer to gently lower the eggs into the water. Immediately return the heat to high and trigger your digital timer.
Pro Tip: This "hot start" method is superior to starting in cold water because it subjects the egg proteins to an immediate thermal shock. This causes the outer albumen to coagulate instantly, creating a clean separation from the shell membrane that makes peeling effortless.
3. The Kinetic Simmer
Maintain a steady, gentle boil for exactly eleven minutes. If the water is too turbulent, the eggs will crack; if it is too still, the yolk may settle off-center. Use a bench scraper to clear your workstation while the chemistry unfolds.
Pro Tip: At exactly 77 degrees Celsius (170 degrees Fahrenheit), the sulfur in the egg whites begins to react with the iron in the yolks. Keeping the water at a simmer rather than a violent boil helps modulate the internal temperature, preventing the dreaded green ring of iron sulfide from forming.
4. The Cryogenic Shock
Once the timer expires, immediately transfer the eggs from the boiling water into a pre-prepared bowl of ice and water. Let them dwell in this sub-zero environment for at least ten minutes.
Pro Tip: This is not just about cooling; it is about halting the carry-over cooking. The rapid temperature drop causes the egg to contract slightly within the shell, further facilitating the peeling process and ensuring the yolk remains a vibrant, matte yellow rather than turning grey.
Section B: Prep & Timing Fault-Lines:
The most common human error is the "Cold Start" fallacy. When you start eggs in cold water, the proteins heat up slowly and bond to the membrane, making the egg nearly impossible to peel without gouging the whites. Another fault-line is the "Ambient Cool-Down." Leaving eggs to cool on the counter allows the residual heat to continue cooking the yolk, leading to a dry, chalky texture. You must use a high-volume ice bath to crash the temperature instantly. If your eggs are cracking upon entry, use a needle to prick a tiny hole in the large end of the egg to vent the air pocket.
THE VISUAL SPECTRUM
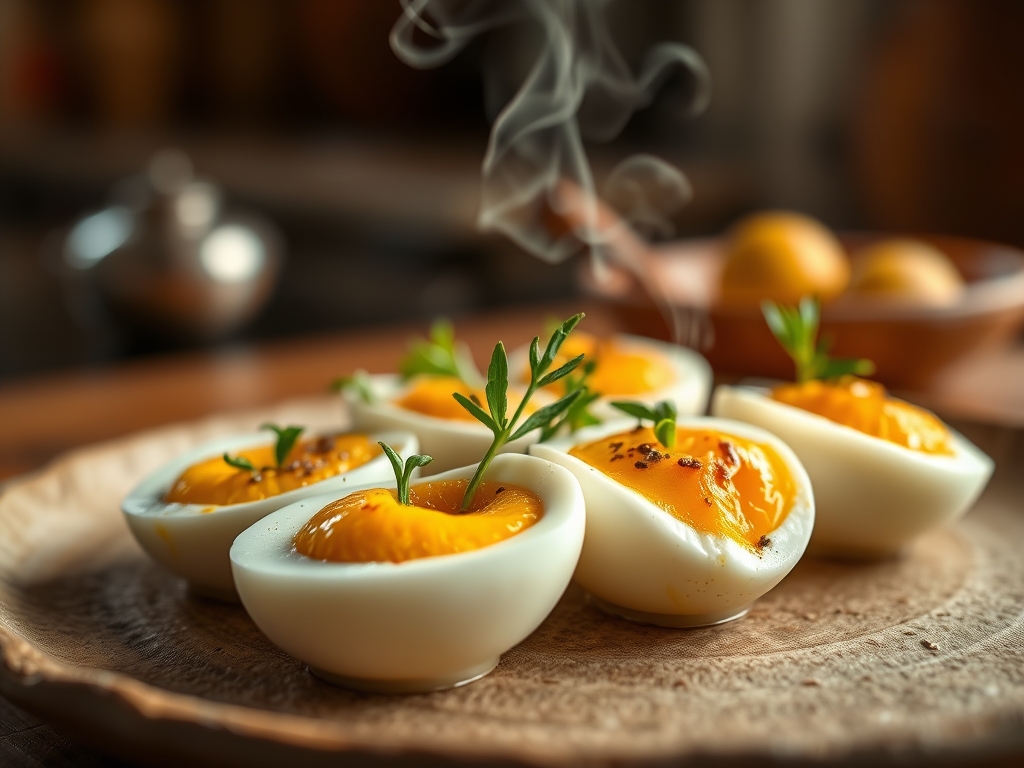
Section C: Thermal & Visual Troubleshooting:
Referencing the Masterclass photo, the ideal Hard Boiled Eggs should exhibit a pristine, porcelain-white exterior with no indentations or "crater" marks. If your eggs look lumpy, the albumen was too soft when you started peeling. If the yolk is centered, your kinetic simmer was successful. If the yolk is pushed to one side, the eggs sat stationary for too long. A dull, greyish yolk indicates over-cooking by as little as sixty seconds. If the white is rubbery and translucent, the water temperature dropped too low during the cycle, failing to fully denature the proteins. The texture should be firm but yield easily to a knife, revealing a yolk that is solid but possesses a creamy, almost viscous mouthfeel.
THE DEEP DIVE
Macro Nutrition Profile:
A single large hard-boiled egg provides approximately 78 calories, 6 grams of high-biological-value protein, and 5 grams of healthy fats. It is a dense source of choline and lutein, essential for neurological infrastructure and ocular health.
Dietary Swaps:
While there is no direct molecular equivalent for a hard-set yolk in the vegan world, firm tofu seasoned with kala namak (black salt) can mimic the sulfurous aroma and texture. For Keto and GF practitioners, these are the ultimate "zero-carb" snacks, providing a stable fat-to-protein ratio that prevents insulin spikes.
Meal Prep & Reheating Science:
To maintain the molecular structure during storage, keep the eggs in their shells in a sealed container for up to seven days. To reheat, never use a microwave; the steam pressure will cause the egg to explode. Instead, submerge the peeled egg in hot (not boiling) water for two minutes to gently infuse heat back into the center without toughening the outer whites.
THE KITCHEN TABLE
Why is there a green ring around my yolk?
That is iron sulfide. It occurs when the egg is overcooked or cooled too slowly. The sulfur in the white reacts with the iron in the yolk. Shorten your cook time and use an ice bath immediately.
Why are my eggs so hard to peel?
Your eggs are likely too fresh. Fresh albumens have a low pH that bonds them to the shell. Use eggs that are at least a week old, or add baking soda to the boiling water to raise the alkalinity.
Can I cook these in an air fryer?
You can, but it is technically inferior. Air is a less efficient thermal conductor than water, leading to uneven coagulation and a higher risk of the yolk drying out before the white sets. Stick to the saucier.
How do I get the yolk perfectly centered?
Gently stir the water for the first two minutes of boiling. The centrifugal force helps the yolk stay suspended in the center of the albumen while the proteins begin to set and lock it into place.
What is the best way to peel them?
Crack the shell all over by tapping it on a flat surface, then peel under a thin stream of cool running water. The water acts as a lubricant, helping the membrane slip right off the delicate white.